How To Renovate A Small Bathroom To Look Luxurious
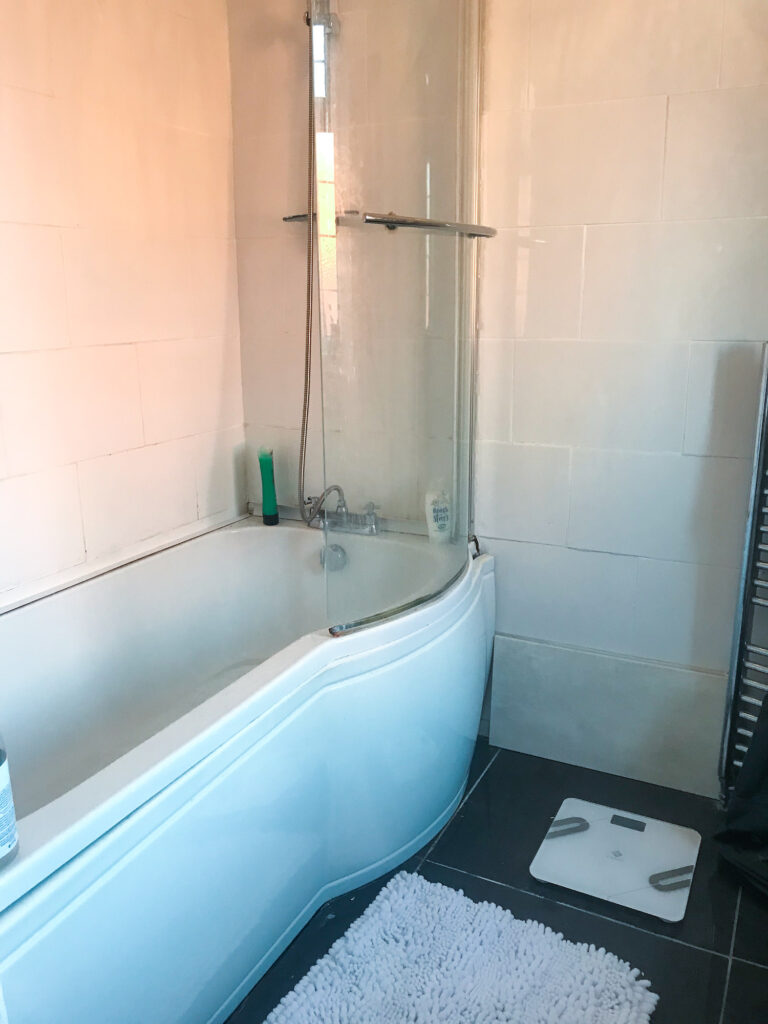
Through travelling frequently I’ve picked up a few interior design tips on how to style a bathroom. From luxurious bathroom settings to small cruise bathrooms and all in between I feel like I’ve developed a taste of what I like and what I loathe. So when my kitchen ceiling fell in due to a bathroom leak when I came back from the Bon Jovi Cruise I decided it was time for a bathroom overhaul.
For a while, my bathroom has merely just served its purpose. But it was time to completely transform it. Like my garden overhaul. The brief I set myself was to create a hotel worthy environment in my own home. Spending hours looking at Pinterest and Instagram for inspiration and drawing upon my own experience of staying in luxury hotels. From now on, we’ll be going through a detailed description of any bathroom renovation steps.
Related Read;
- Should You Move or Renovate To Achieve Your Dream Home?
- 5 Factors To Bear In Mind When Choosing Bathroom Furnishings
- Dream Bathroom: What Are The 7 Key Ingredients?
How To Renovate A Small Bathroom To Look Luxurious
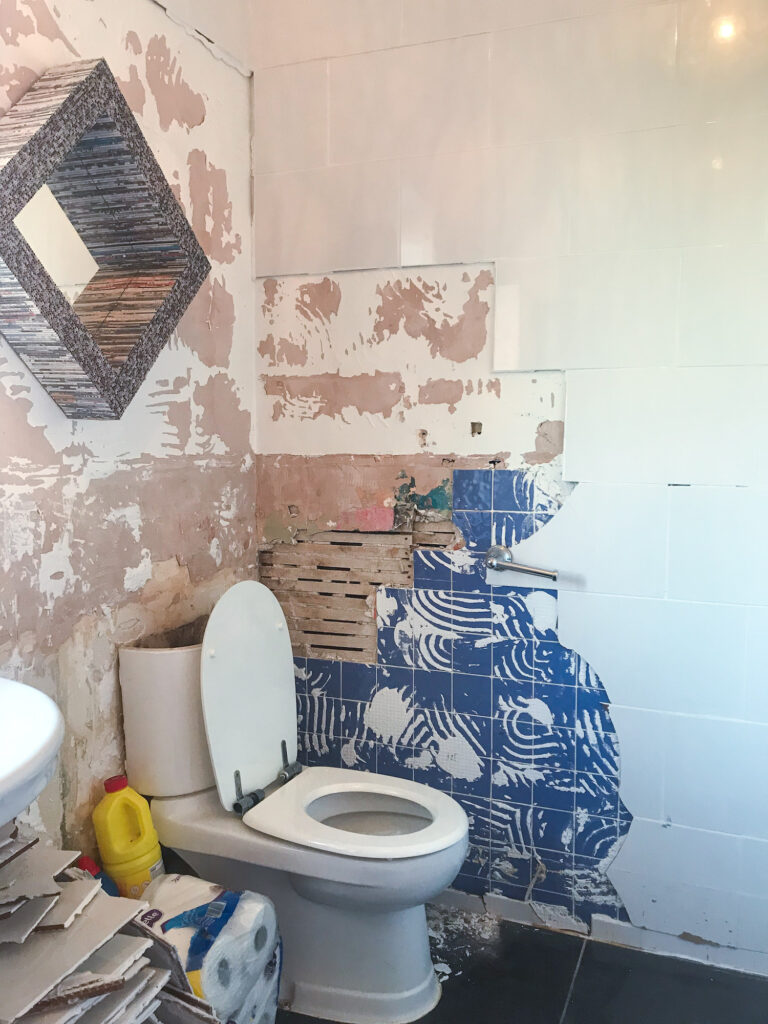
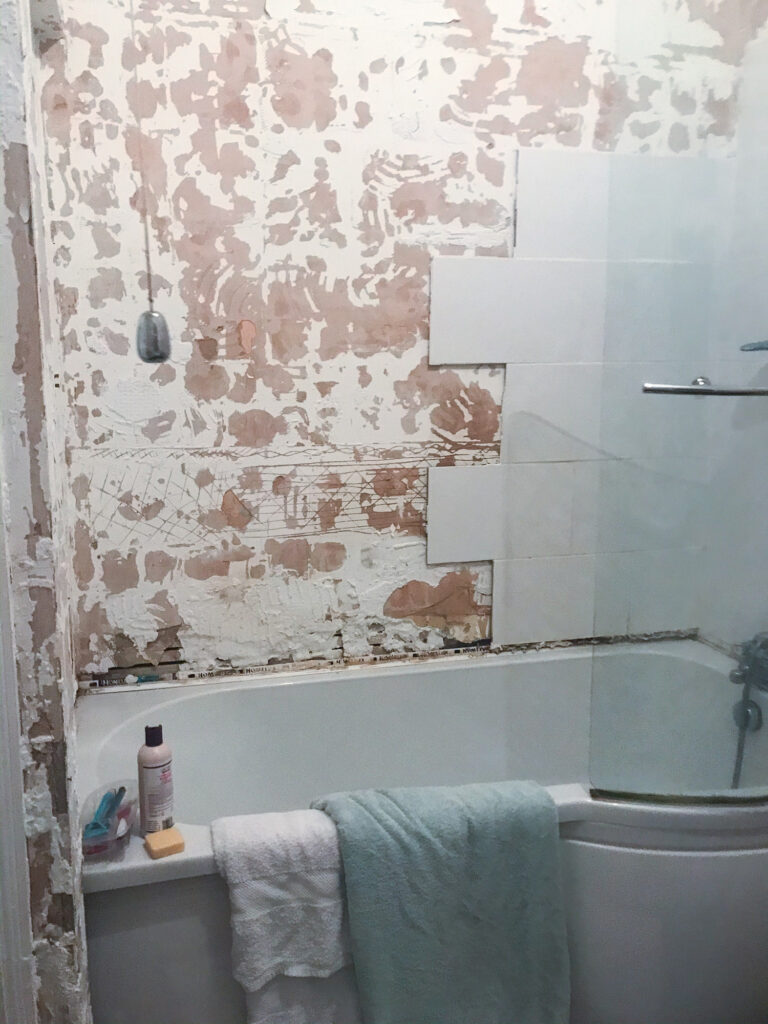
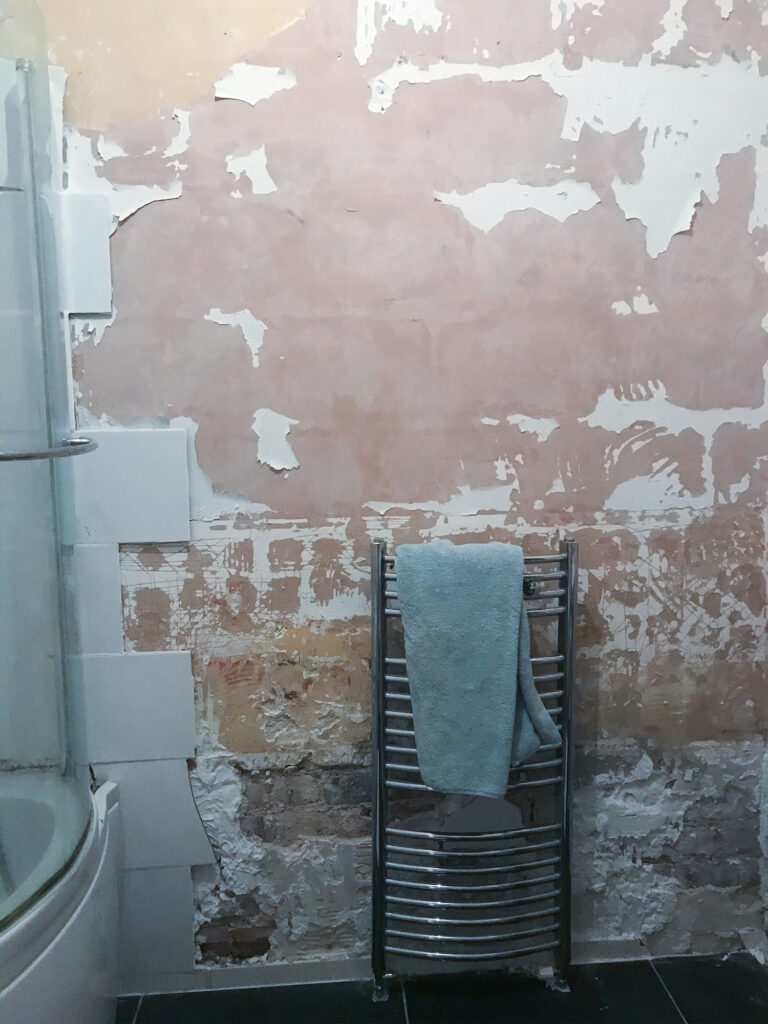
Lots of stripping…
We stripped the basic bathroom out and removed all of the tiles. Choosing new tiles proved difficult. To keep in with the neutral tones throughout the rest of the house we had initially thought we’d opt for grey tiles. However, when looking at tiles many made us feel cold and miserable.
We brought around 15 sample tiles home to see what they looked like in situ. Realising that this is a fundamental aspect when choosing tiles. The lighting in showrooms is different from your bathroom. And, of course, seeing the size of tile in the space you have helps you to decide if they’re the right tiles for you.
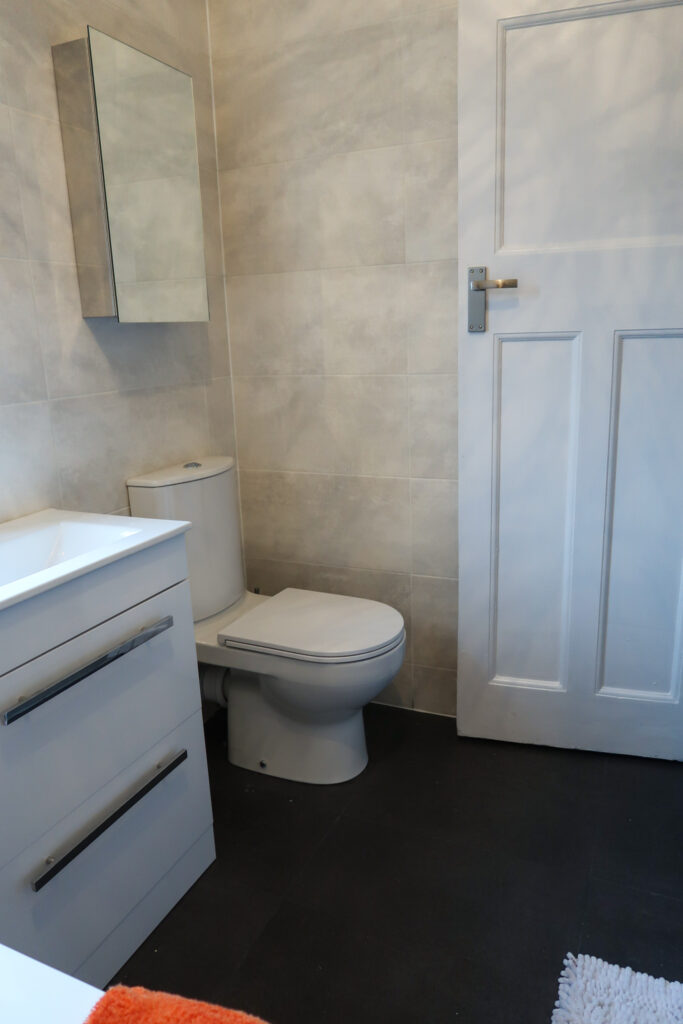
After much deliberation going forwards and back to different tile stores. We decided upon the Metal ID Anthracite Matt Concrete effect Porcelain, Floor tile and similar to our wall tiles from B&Q. Especially as they had a 3 for 2 on all tiles offer and frequently send money off coupons. Which made these tiles a bargain at £18 for 3 boxes (15 tiles) of the wall and £28 for 3 boxes of the floor tiles (18 tiles).
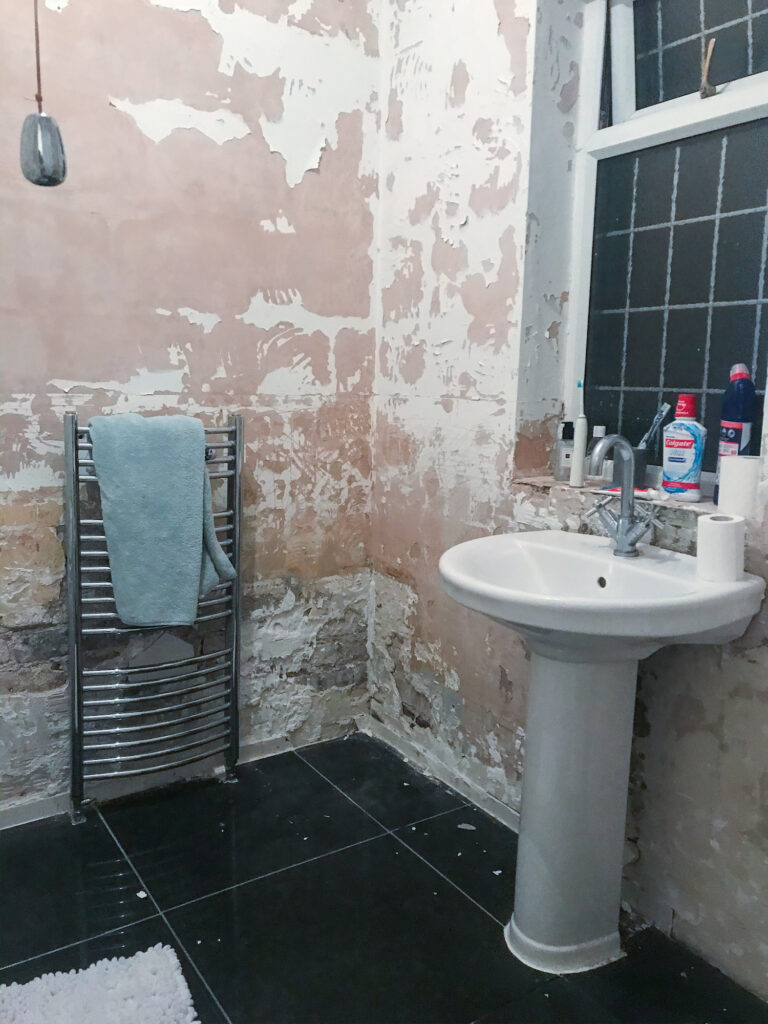
Initially, the bathroom floor had large square tiles (600mm x 600mm if you’re into specifics). And the walls were rectangular (400mm x 300mm). Both in high gloss.
We chose matte tiles for both the walls and flooring this time. The floor and walls exactly the same size (600mm x 300mm) to keeps the flow of the room nicely. We requested that the tiler stack them instead of brick them and run them all in line so everything was very linear.
Deciding the bathroom layout
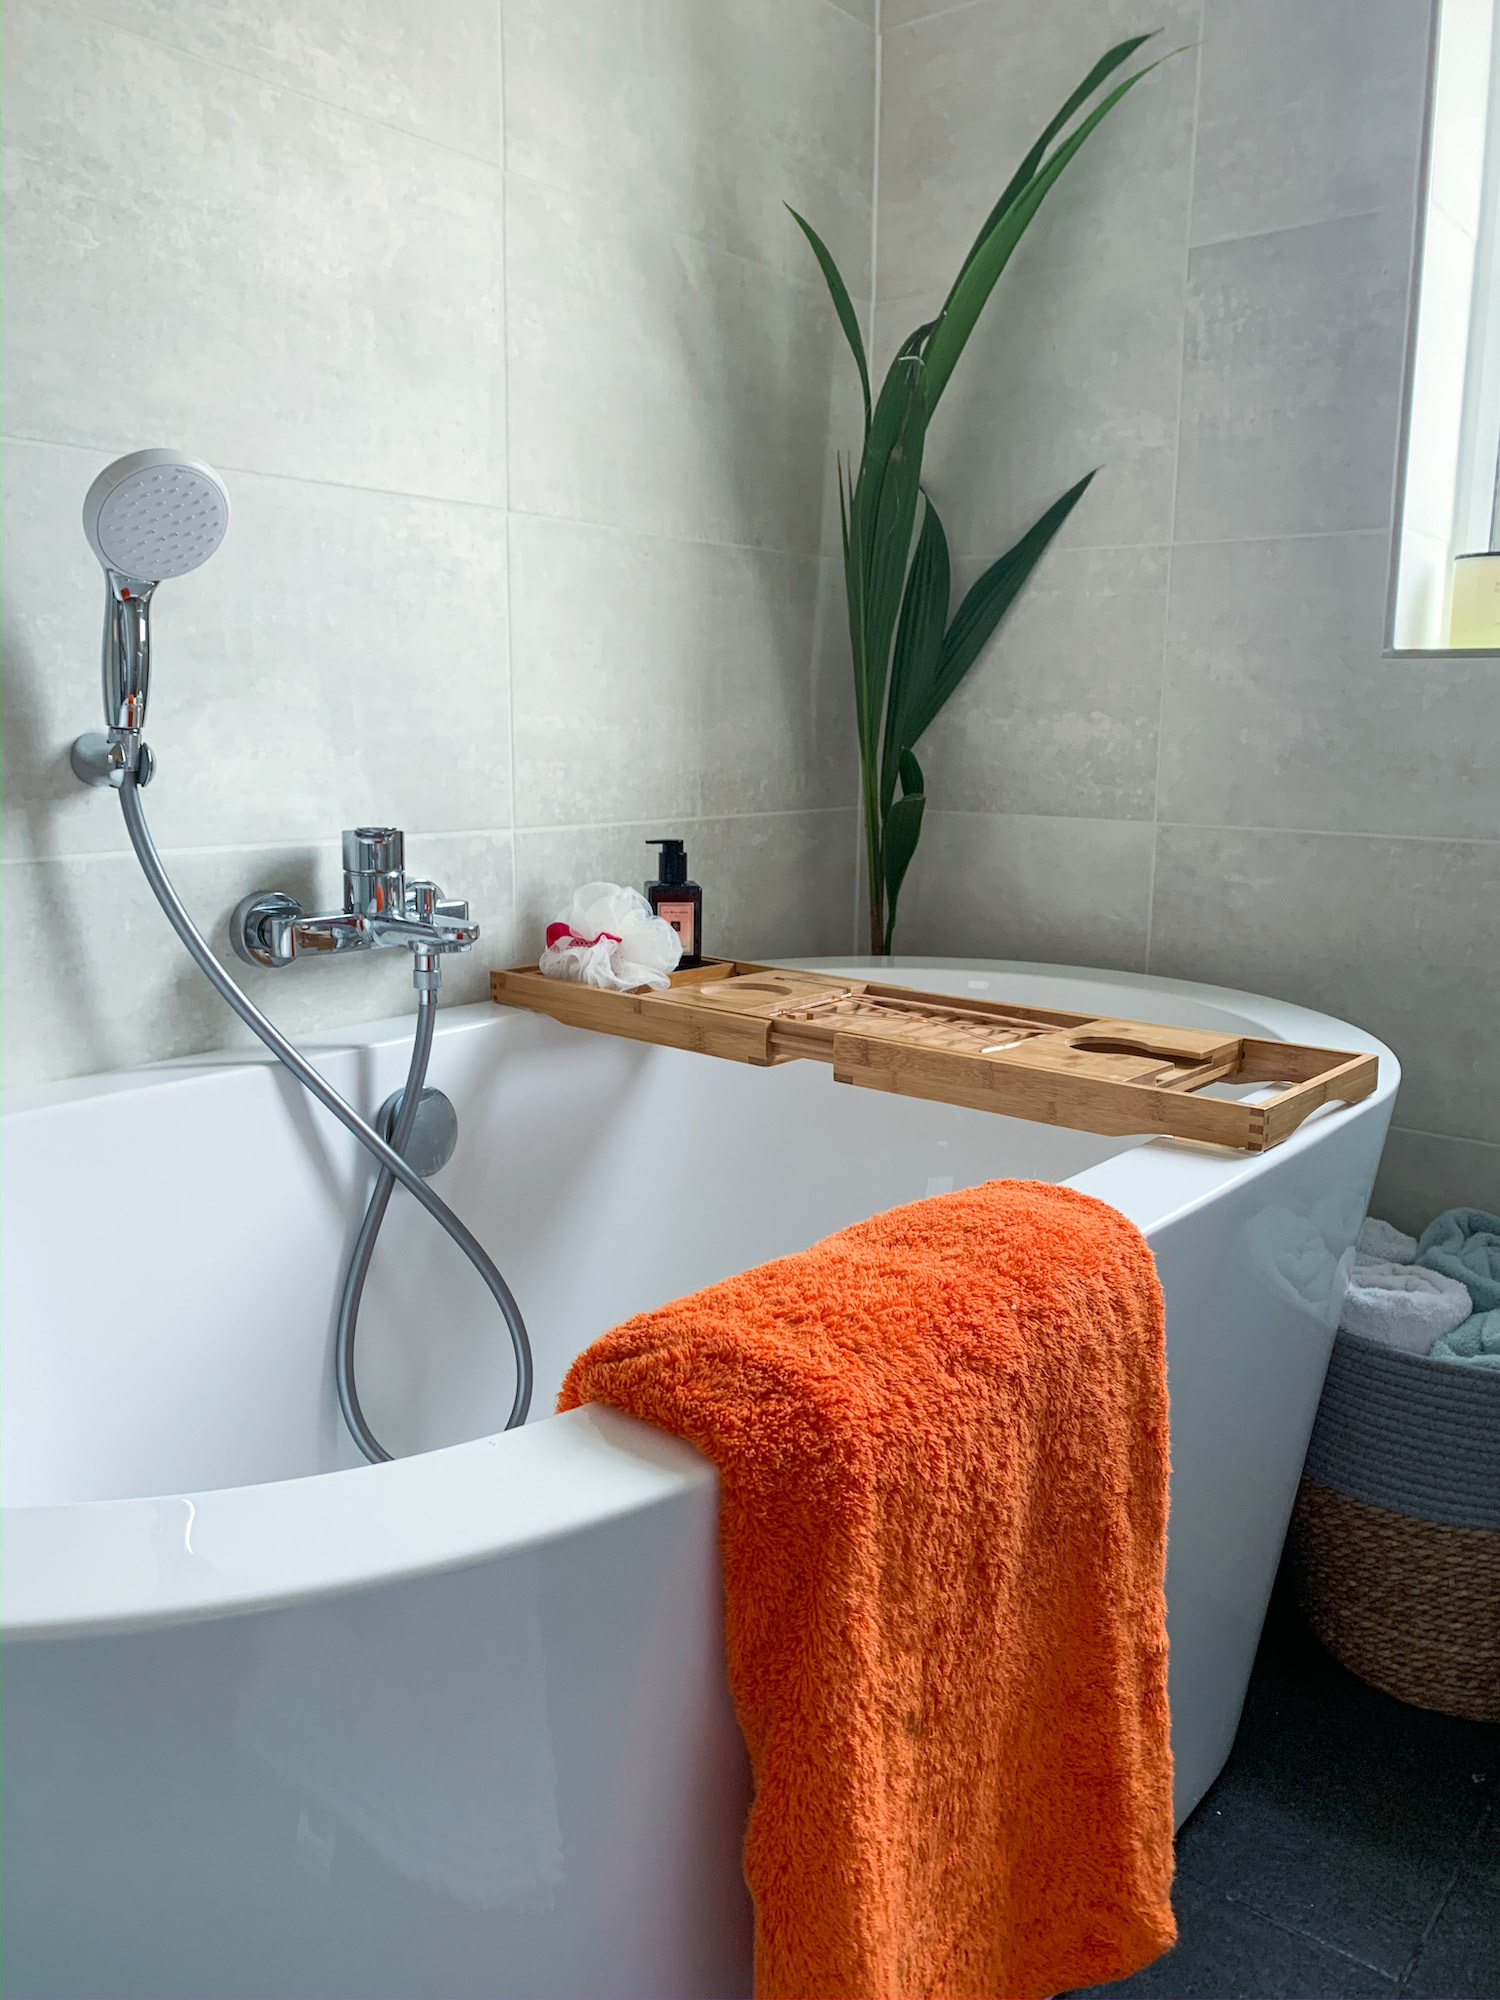
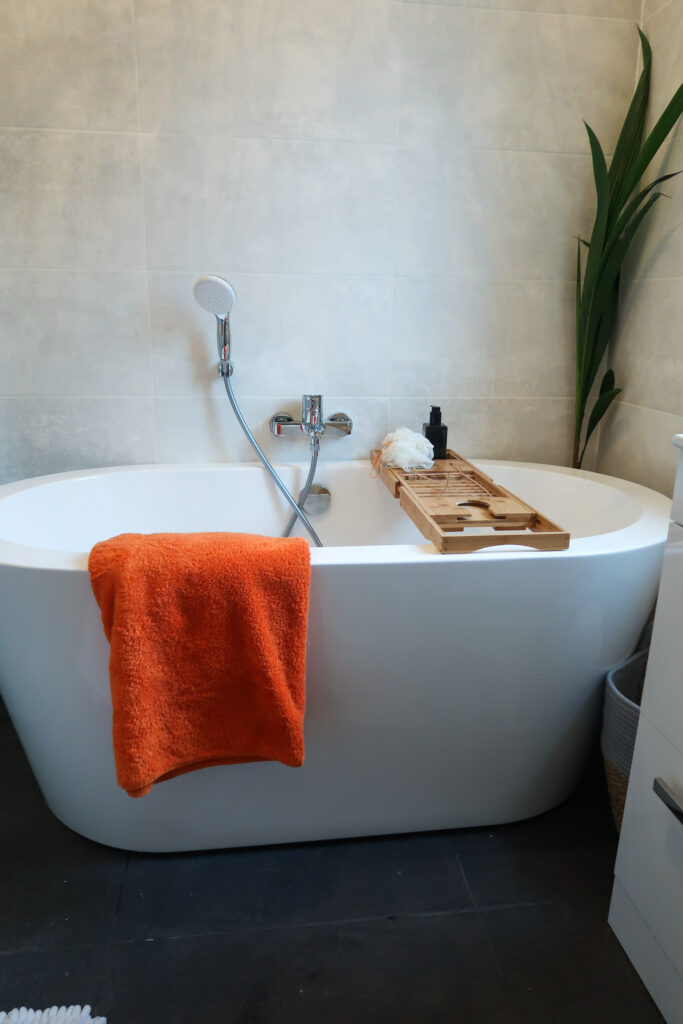
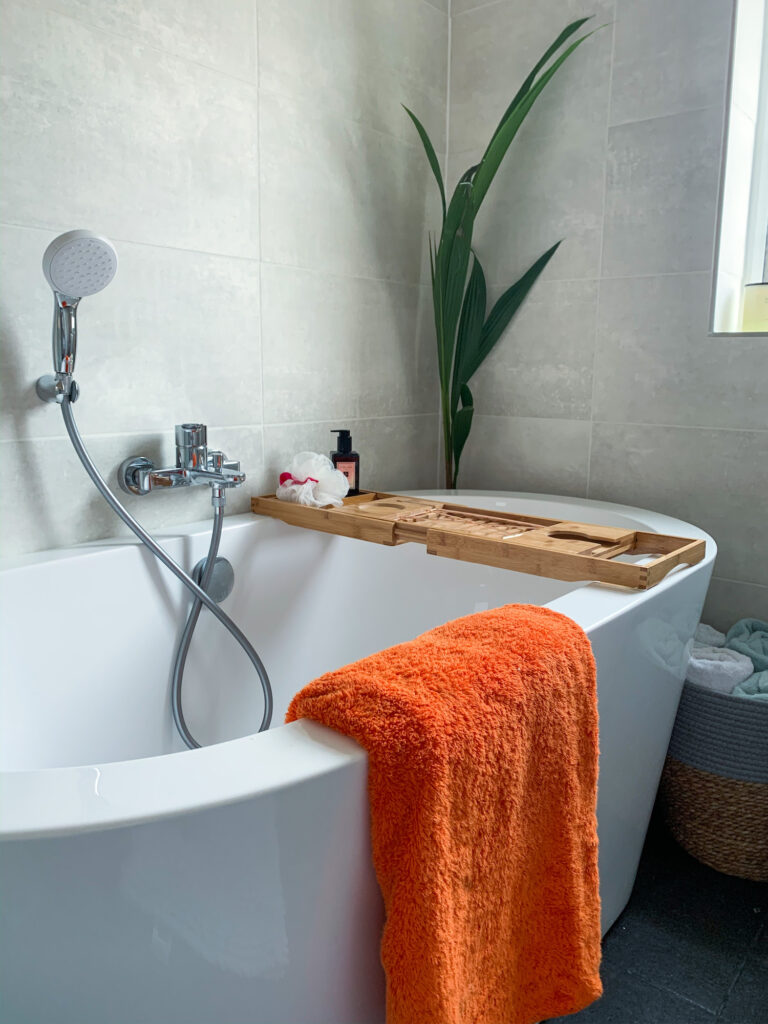
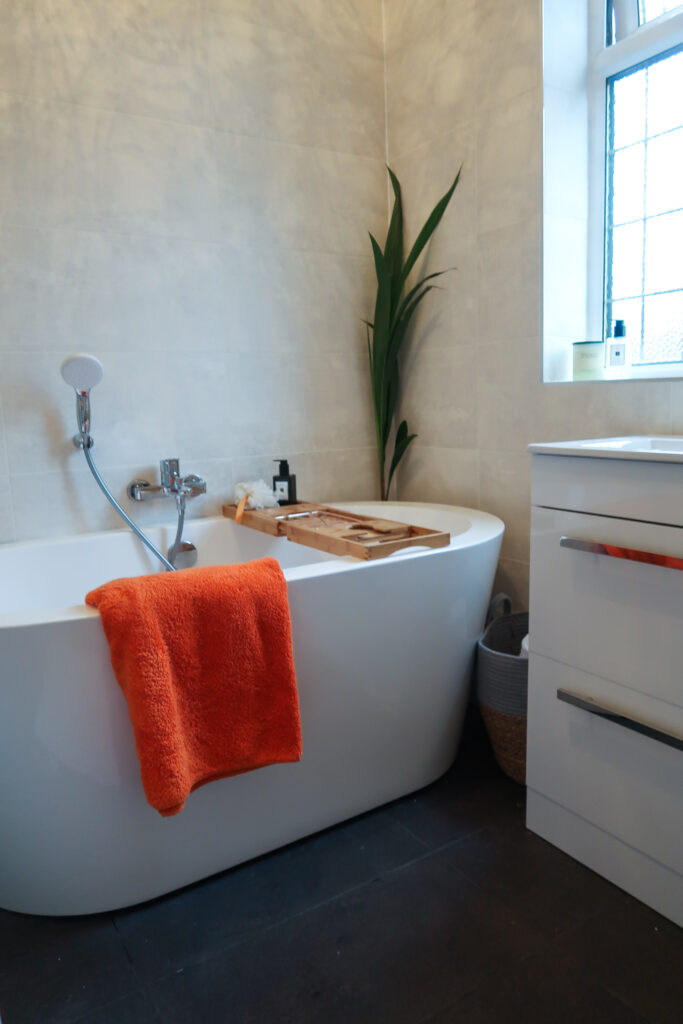
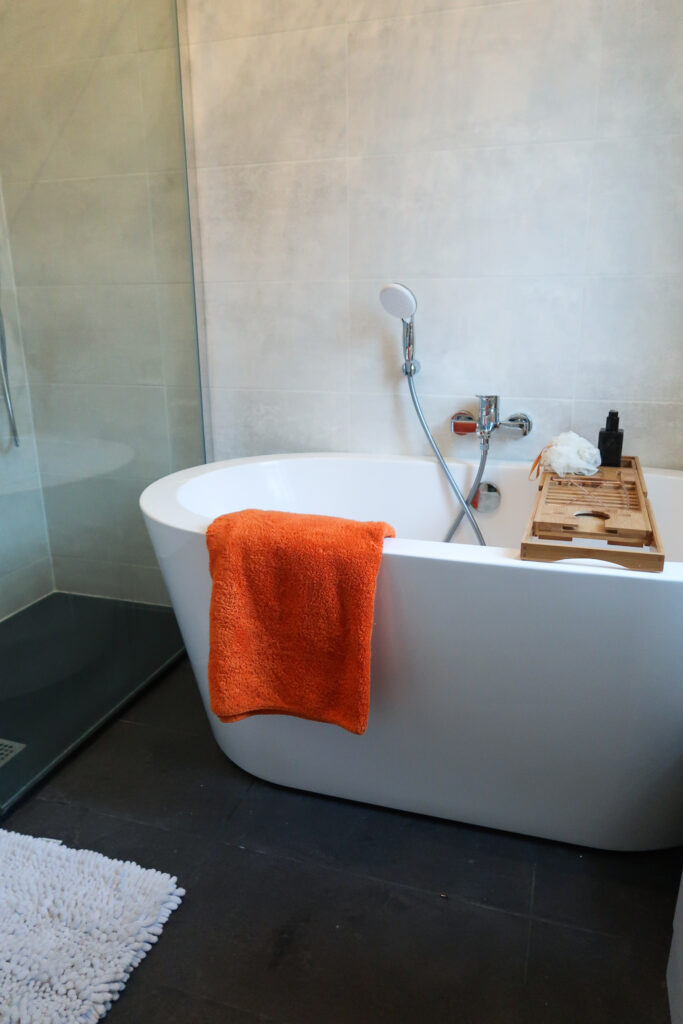
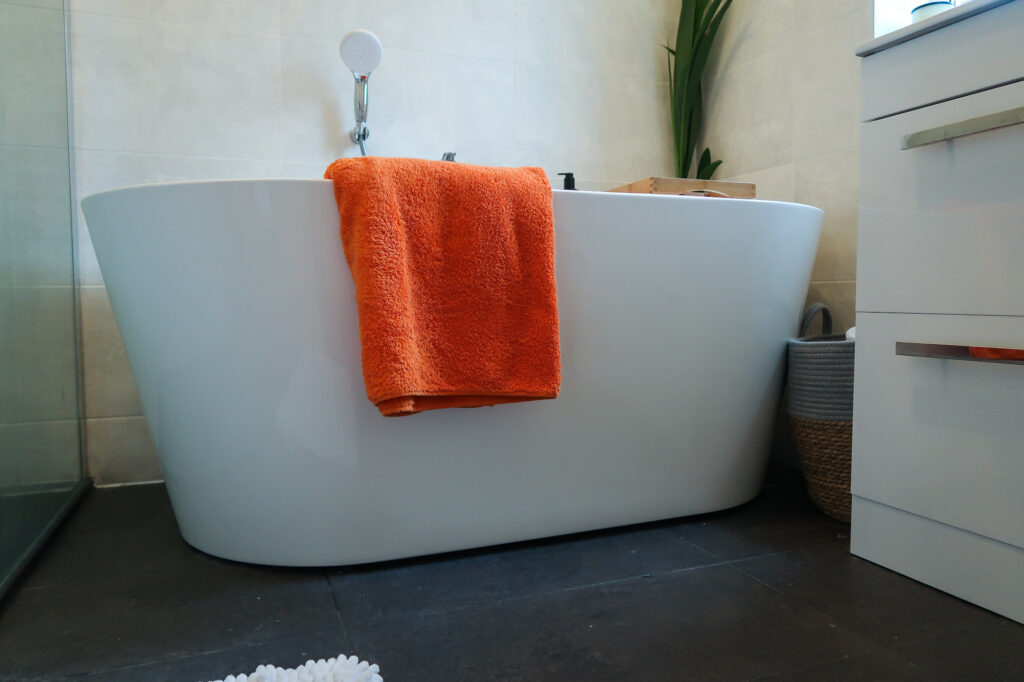
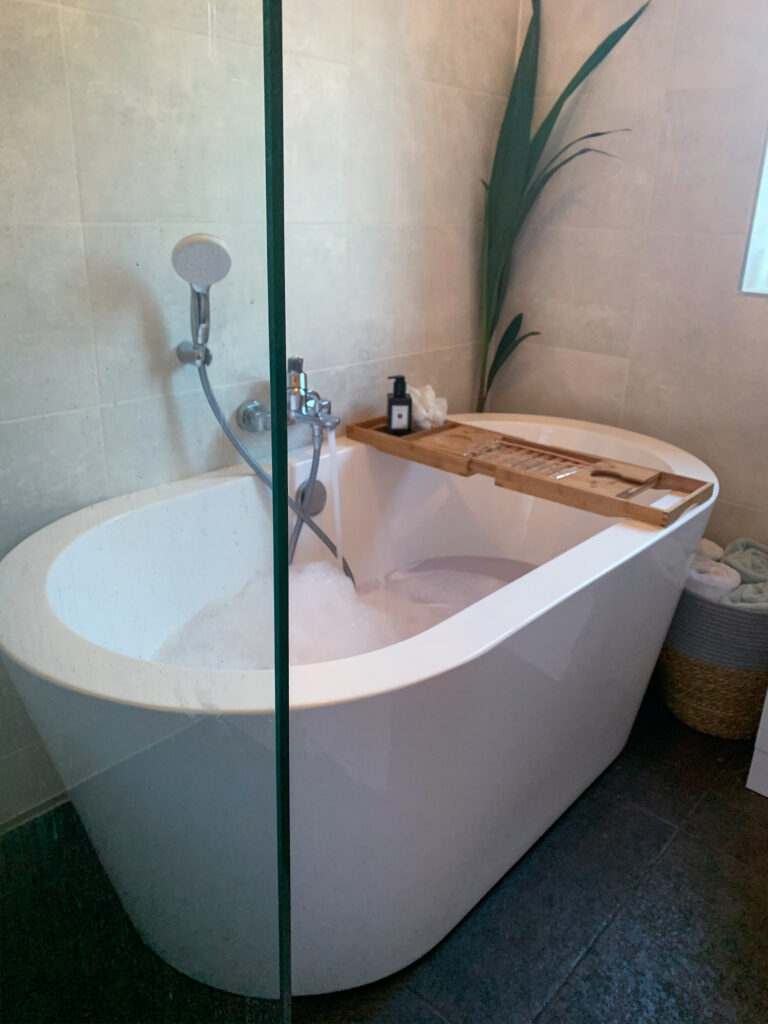
Knowing we wanted a walk-in shower and a bath we opted for the Isla freestanding bath from Soak (£399). A free-standing bath looks more visually appealing and also adds a little luxury to the room, especially when paired with high-quality fixtures like Tile Importer shower mixers for a complete bathroom transformation.
Having both a bath and shower was a tight fit so we went with a smaller bath. Which me being 5ft4” is an alright length.
For the taps we chose were Grohe BauEdge Wall Mounted Bath Taps from Amazon at the best price (£57.75) we also had to buy the shower head attachment the Grohe Tempesta 100 for £17.26.
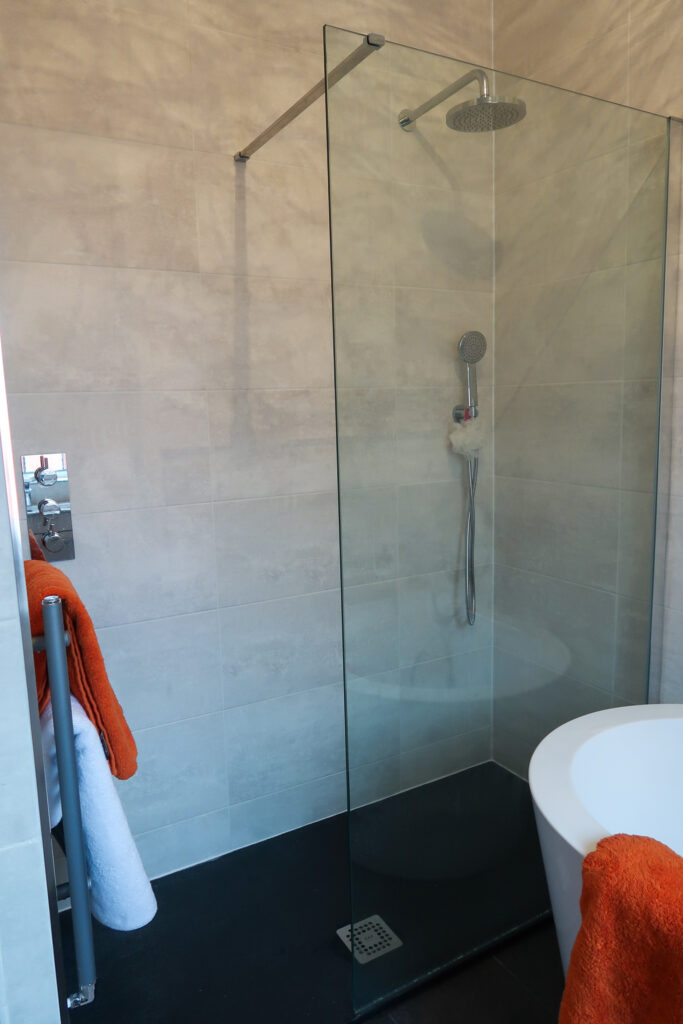
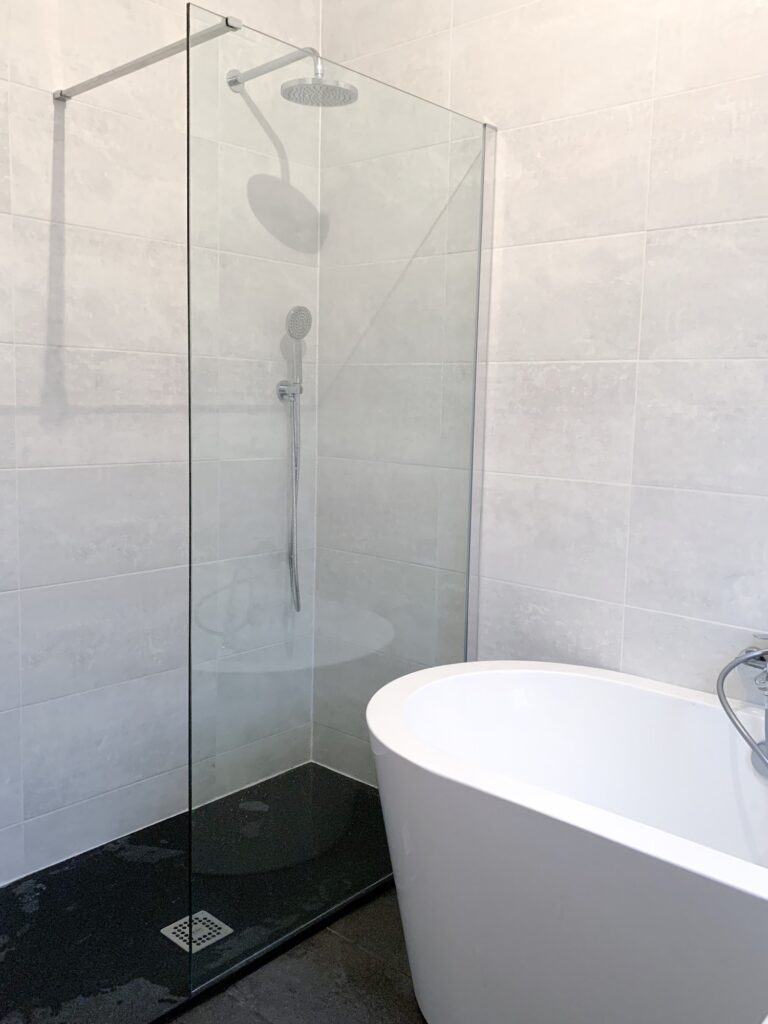
We decided we didn’t want a shower cubical, instead, we decided upon a walk-in shower/wet room style. This again was reflective of our objective to create a bathroom which oozed luxury and emulated a relaxing high-end hotel. We chose the RAK shower tray in anthracite (£335) (notice to flow with the flooring).
Choosing to invest a little bit more on the shower tray than initially anticipated. As this one can be cut to size and perfectly fits the space. We decided to splurge on this. Simply because we thought if the shower tray ended it wouldn’t look right with tiles in the small area at the end.
For the shower screen, we chose the longest we possibly could. That would still allow us to get into the shower easily. This was conscious as we wanted to keep the water mess to a minimal.
If you’re renovating a small bathroom or any bathroom we highly recommend choosing a long shower screen. This was fastened by a suspension bar to keep the minimalistic look and feel. Again this came from Soak and was £230.97 for the 1400mm single panel.
For the shower, we pondered if we should have it exposed or hidden and eventually decided to go for a hidden shower. Having researched for hours the perfect shower for our needs we bought the Grohe Cosmopolitan Thermostatic Shower and Shower Head from Wayfair (the cheapest online).
Focusing on the main focus points
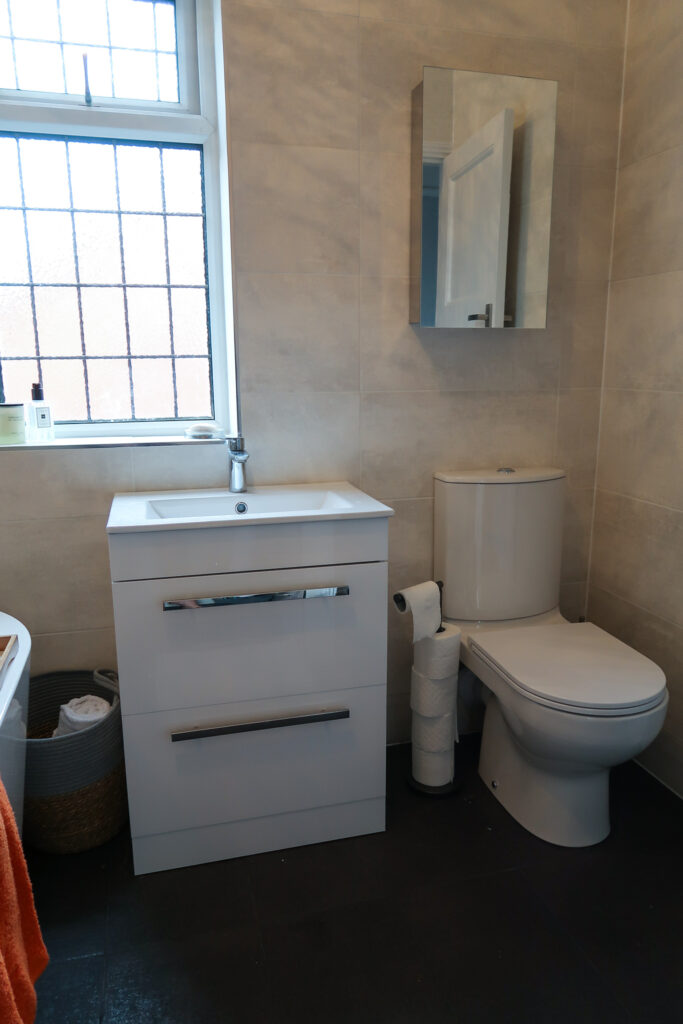
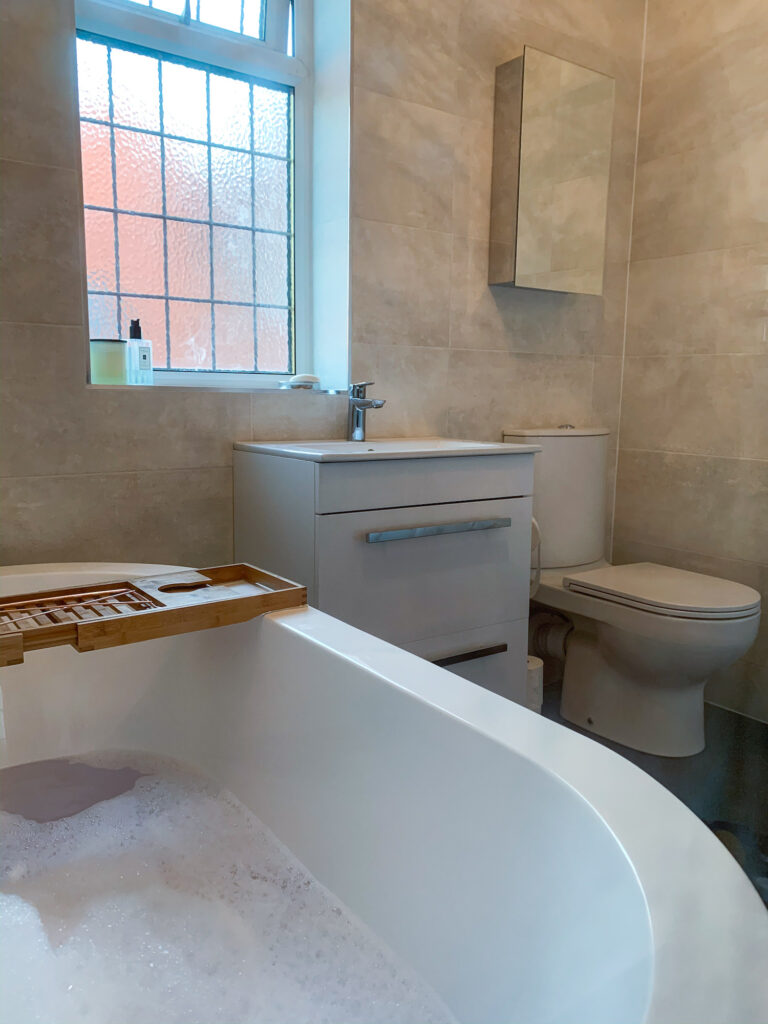
The basin was an easy choice since we were losing a little bit of space by adding a separate bath and shower. We needed storage so chose a basin with a vanity unit which would allow us to store toiletries and towels inside. This again was from Soak. Do keep an eye out for good deals as they seem to do specials weekly.
We got 20% off our entire purchase. However, they do 30% offers and so much off of you spend a certain amount. You can browse their deals here. We added the matching Grohe BauEdge Mixer Tap from Amazon (£38.98 instead of £105.53).
Admittedly we did have a nightmare with the vanity unit as shipping was massively delayed when it eventually arrived the enamel on the sink was chipped and the unit was damaged.
We did eventually manage to speak to Soak and they sent us a replacement immediately. It isn’t the best and will be replaced in due course. This item has also now been removed from the Soak website I’ve noticed.

Our toilet was an initial emergency buy from B&Q for £99 as we thought this was what was causing the leak. It wasn’t. However, we stuck with this model. As it was sleek, modern, reasonably priced and perfect to go alongside the rest of the bathroom.
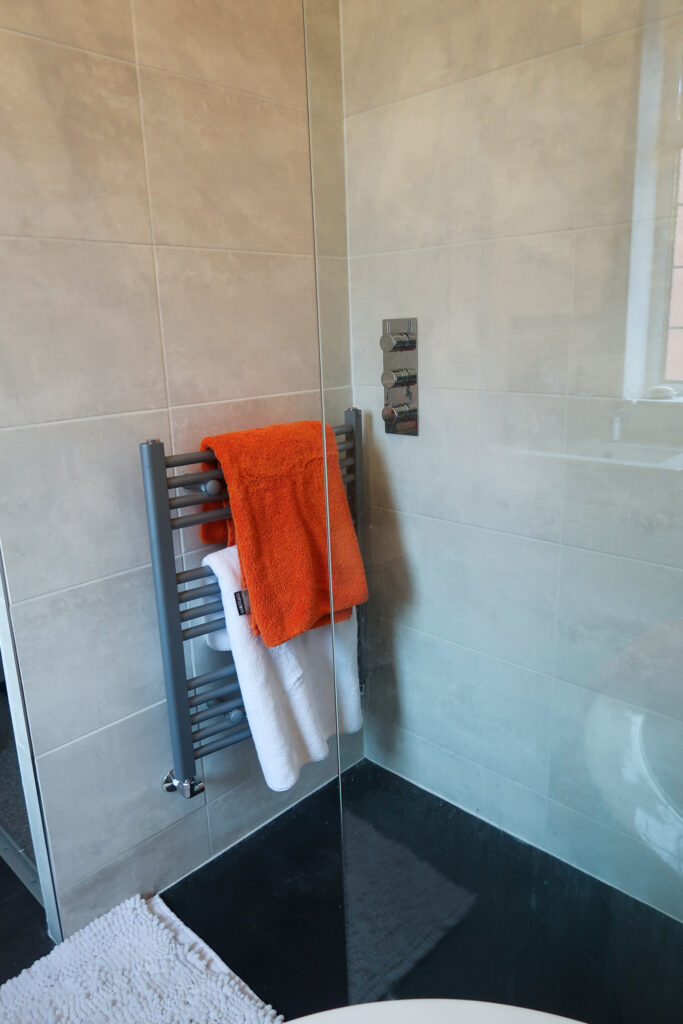
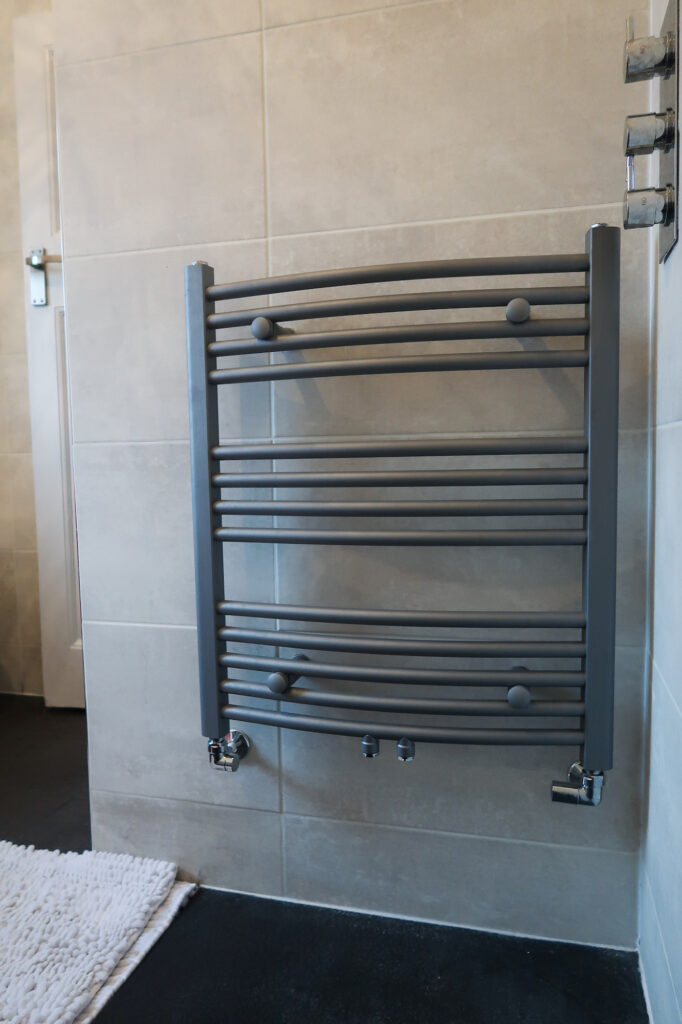
The towel heater was a bargain buy at £1 on Bathroom Takeaway’s website during their super sale. It’s small and compact, fits in the recess by the shower so means towels are to hand post-shower too. It is worth also looking out for their amazing deals on site (I found out about their deals from their Instagram).
We were initially let down by our first plumber and then had a few plumbers come and give us some quotes. We chose TLC Plumbing as their reviews on Checkatrade were really good. The work started the morning we went away to Las Vegas.
When we returned the bathroom was 95% finished and despite running into a few issues with the walls and pipework from previous plumbers before we moved in they had created a transformation.
Saying that there was a bit (read a lot) of damage to the house including a burn on my bedroom carpet, the wooden flooring in the hall was all out and the place was filthy (which we had expected, just not to that extent) and the front door was broken. Also, a couple of tea towels had gone missing and the kitchen was covered in black tile adhesive.
Not everything we had requested had been done, for example, no shelf recess was added to put bottles on, consequently leaving us with no bottle storage for the shower area. The shower in which we had spent hours researching wasn’t installed. Instead, they had put in a different shower unit a Pura shower and thermostatic panel which were a fraction of the cost and didn’t look as good.
Apparently there had been an issue and they decided to just install this instead of the Grohe matching shower we had chosen. Guess that’s what happens when you go out of the country when you have work done!
Related Read;
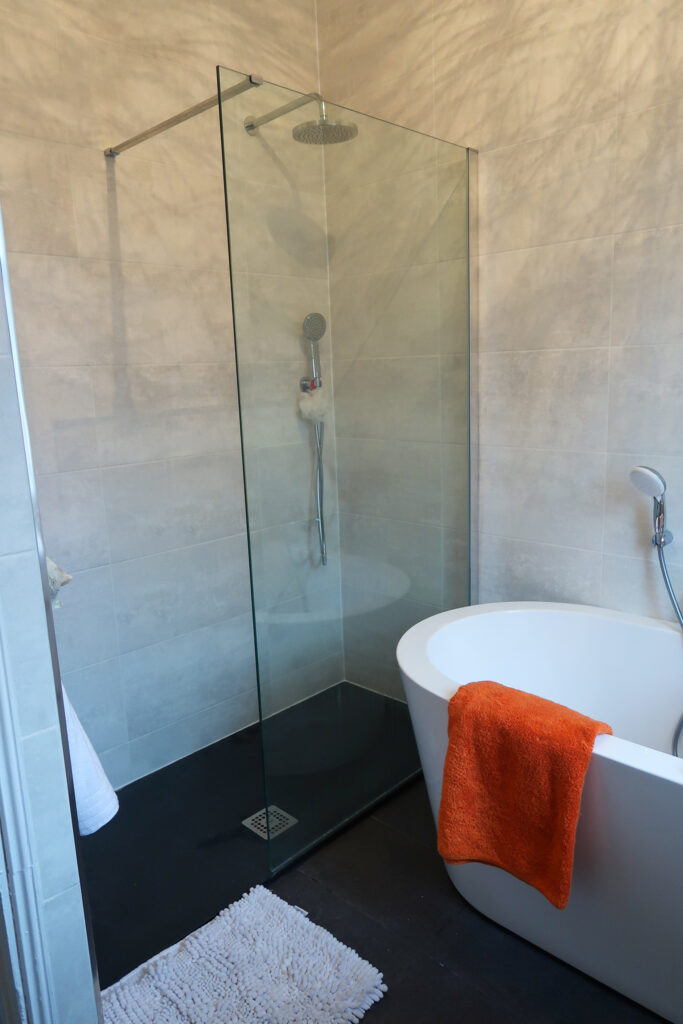
Despite this, it is really lovely and a huge welcome change from the previous bathroom. It is more tranquil and luxurious.
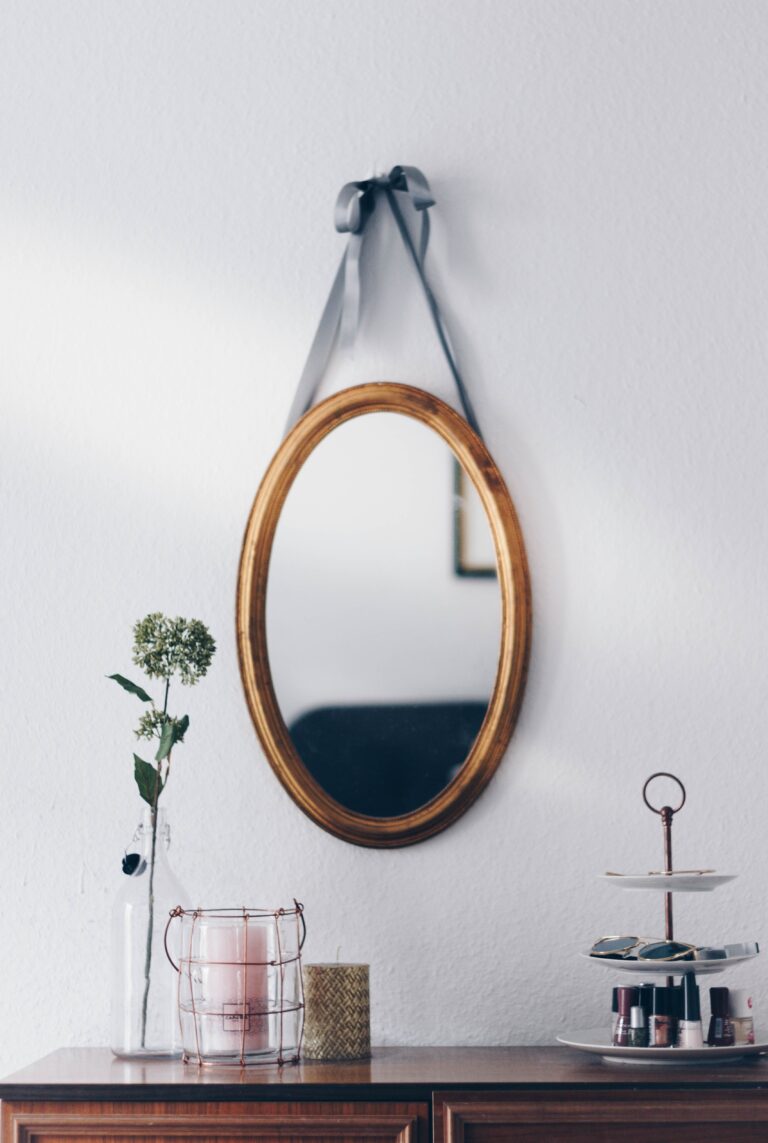
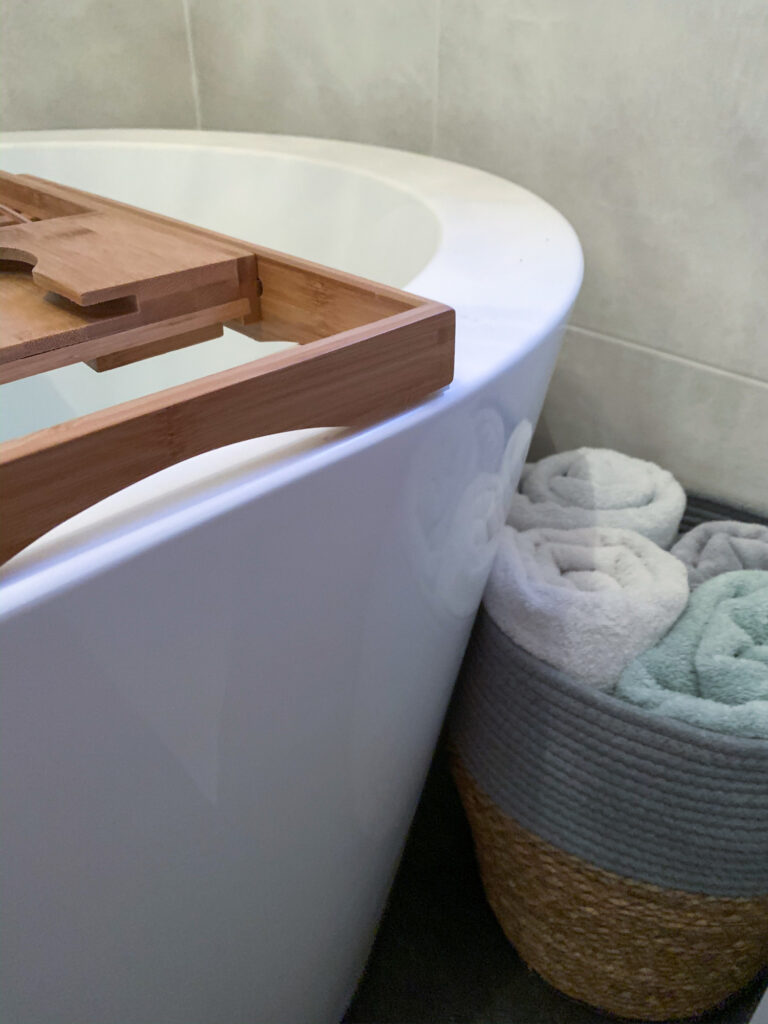
Once the bathroom had been finished and completely cleaned we freshened it up and accessorised with a few pieces including the Bath Caddy from Beautify (£24.99) and the Mirror Storage from Clickbasin (£99). No new bathroom is complete without brand new fluffy white towels and we sourced some from TK Maxx’s Homesense.
Have you renovated your bathroom? I’d love to see photos and hear all about it, drop a comment below.
