Every October when Halloween creeps nearer I head to Pinterest my go-to source for endless creative inspiration, especially for decorating my pumpkin. This year, I’ve been particularly captivated by the trend of luxury pumpkins that seamlessly blend with sophisticated home interior themes. Drawing inspiration from renowned crafters like Handy Little Me and This Mama, I’ve set out to create a pumpkin that not only celebrates the spirit of Halloween but also complements the aesthetic of my living space. These artists have elevated the traditional pumpkin carving to an art form that accentuates elegance and style, pushing me to think beyond the typical jack-o’-lantern faces and embrace a more refined approach to my Halloween decor.

Decorating a pumpkin is one of those childhood traditions that I will never grow out of. In the past, I’ve carved cats and witches, wording and even vampires into the skin of fleshy pumpkins.
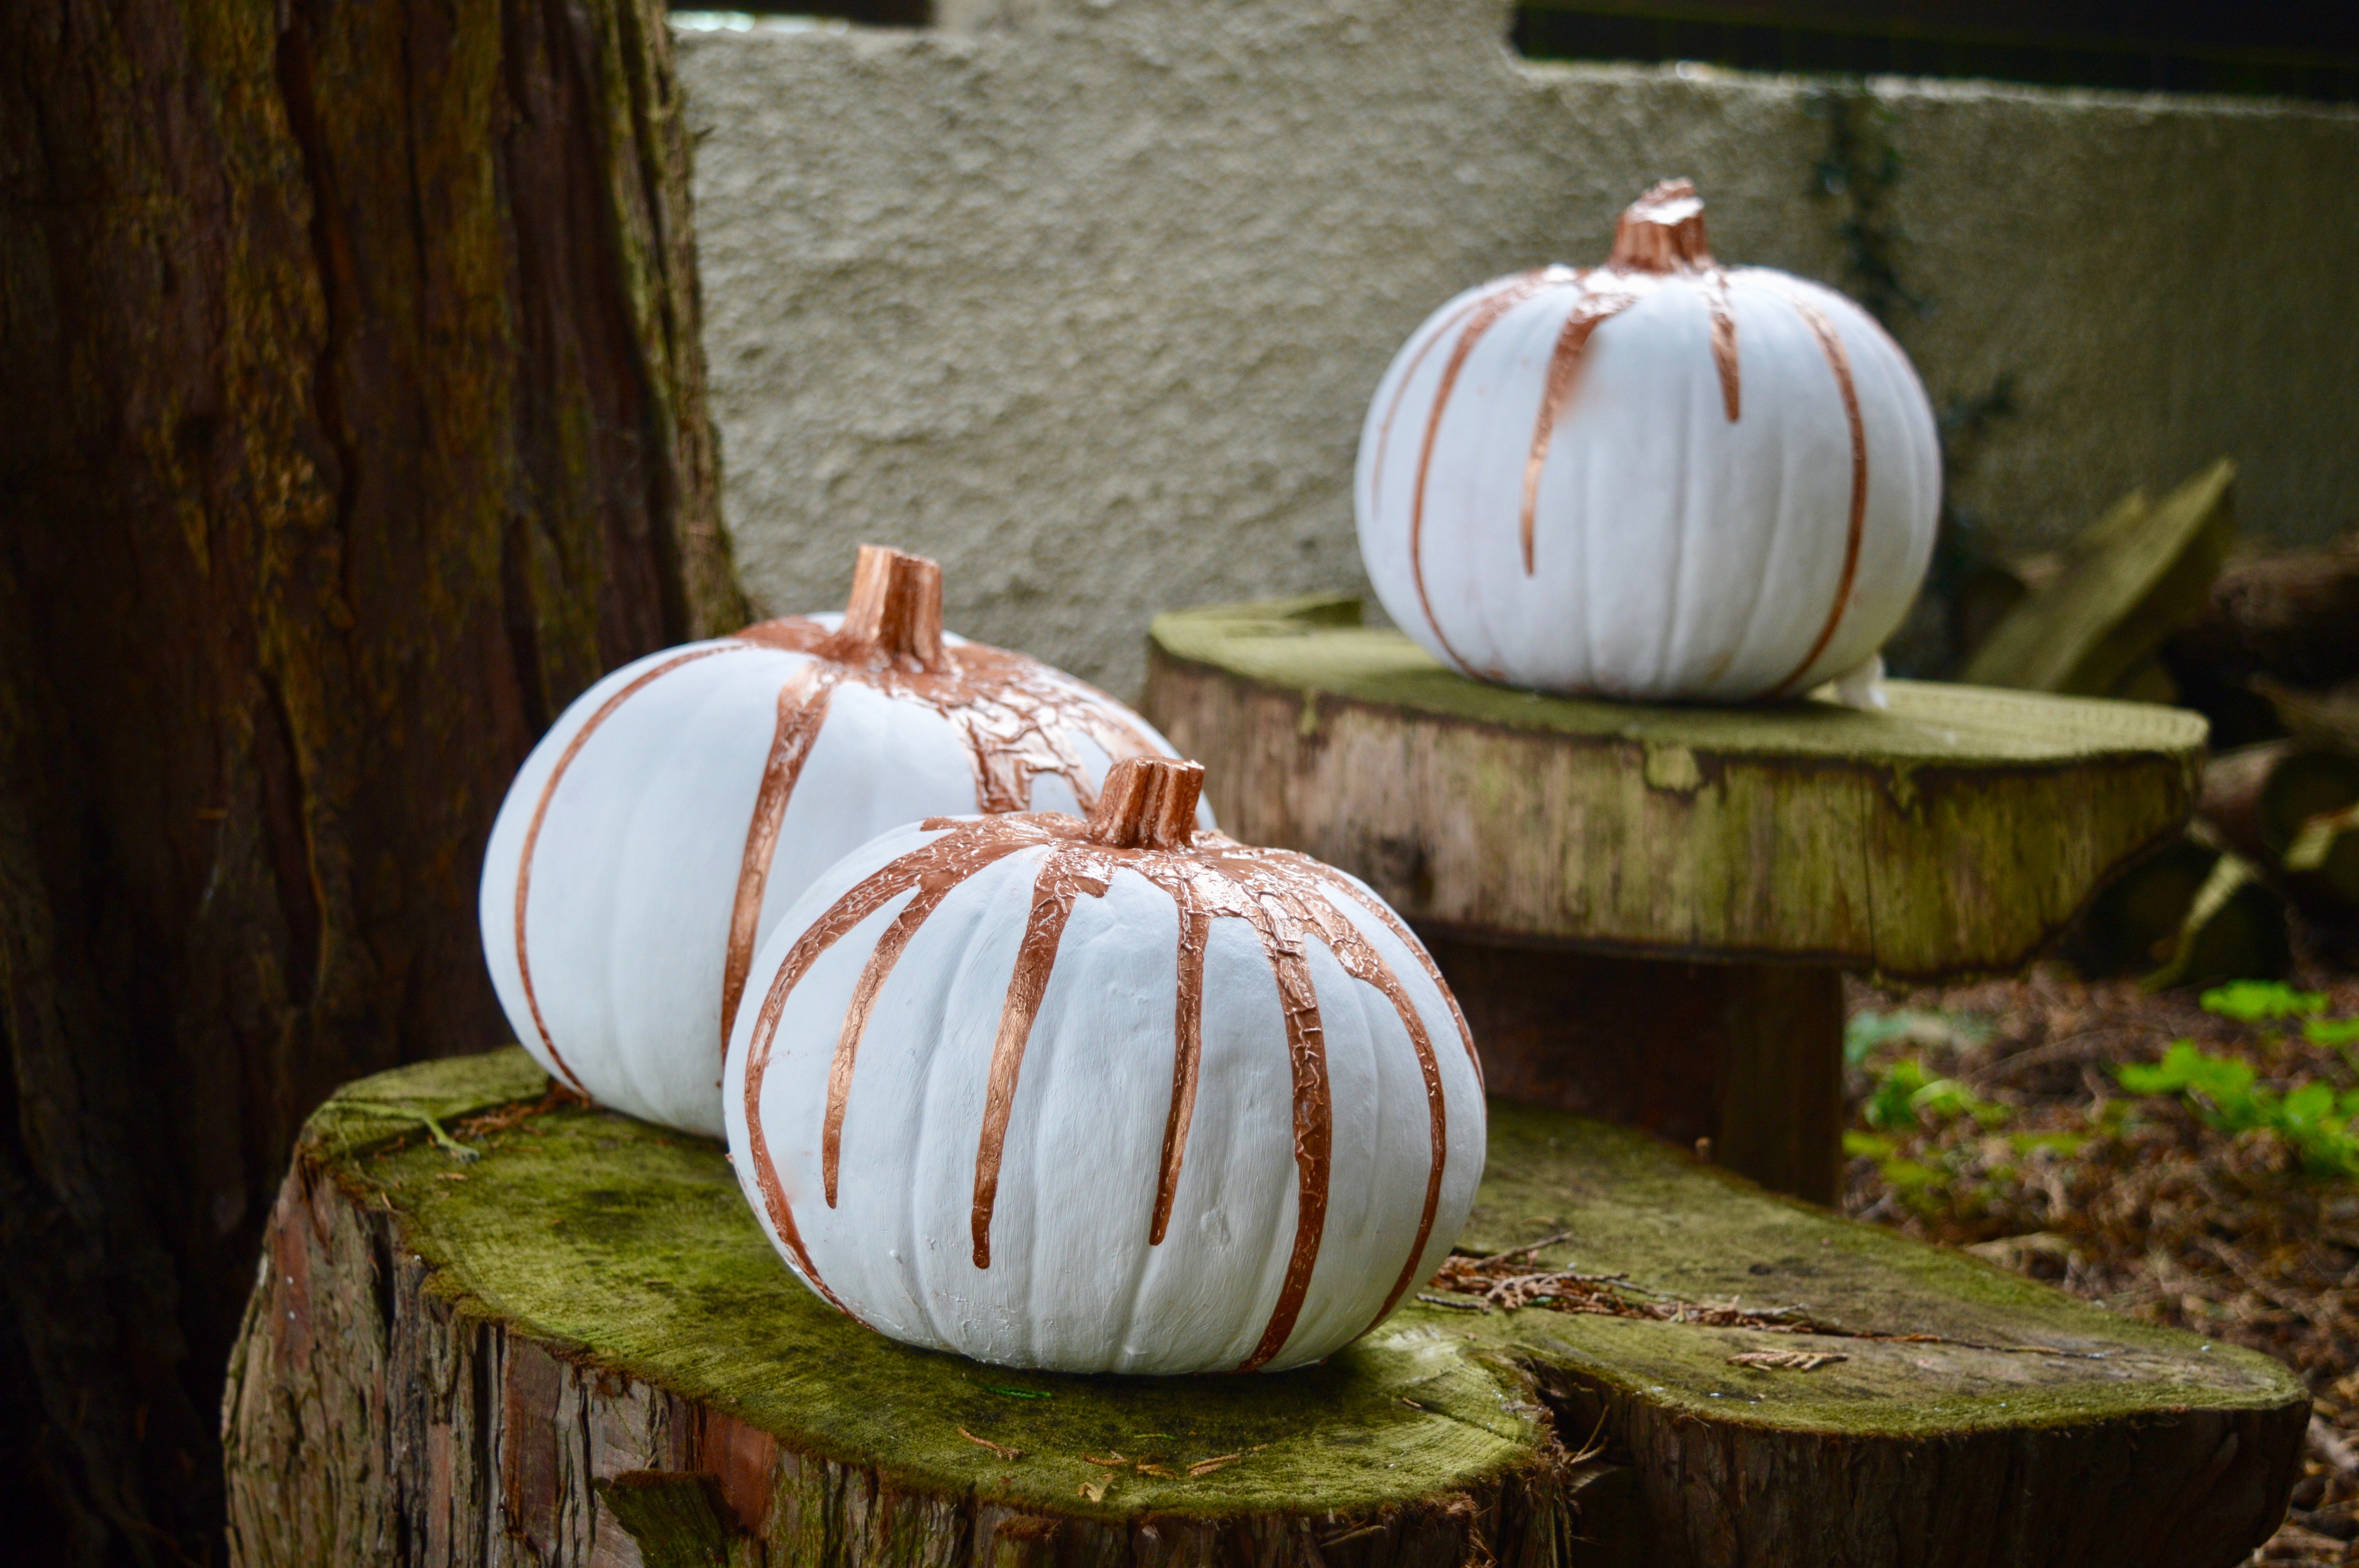
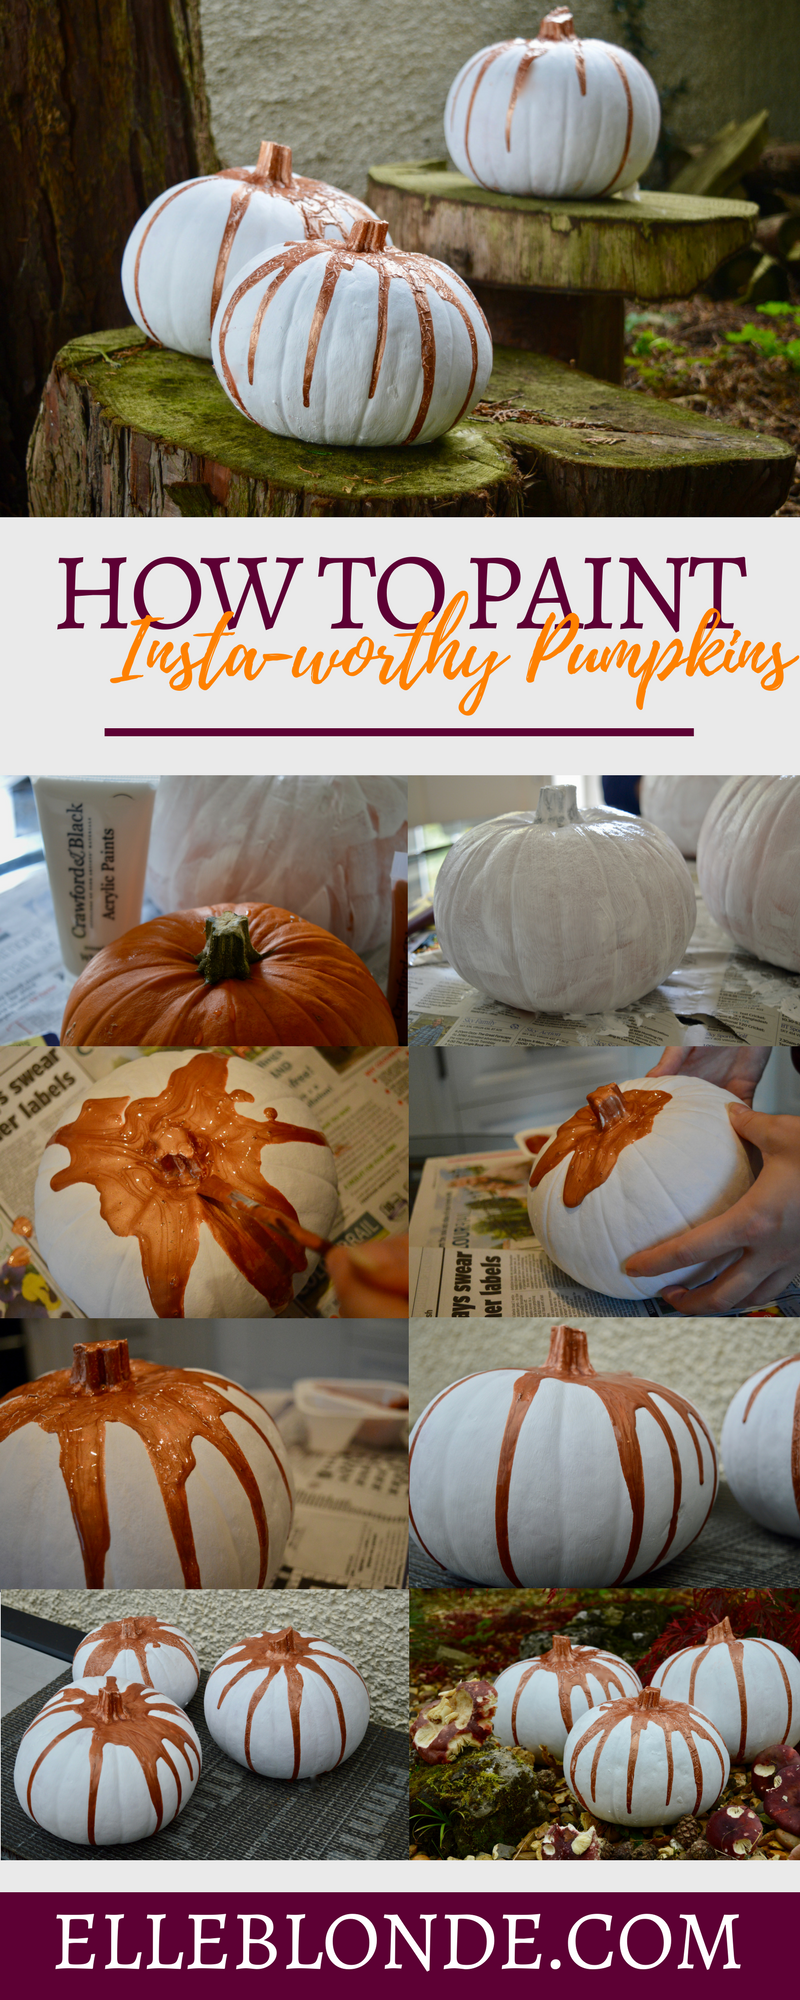
This year instead of choosing hideously scary images to carve, I opted for a sophisticated white and rose gold pumpkin. Obviously, this is to feed my Instagram obsession.
How to Paint a Pumpkin for Halloween | White & Rose Gold
If you don’t follow me on Instagram come and say hello here
I’m going to show you how to create gorgeous looking pumpkins for this Halloween in 4 simple steps.
Other craft posts you might be interested in include:
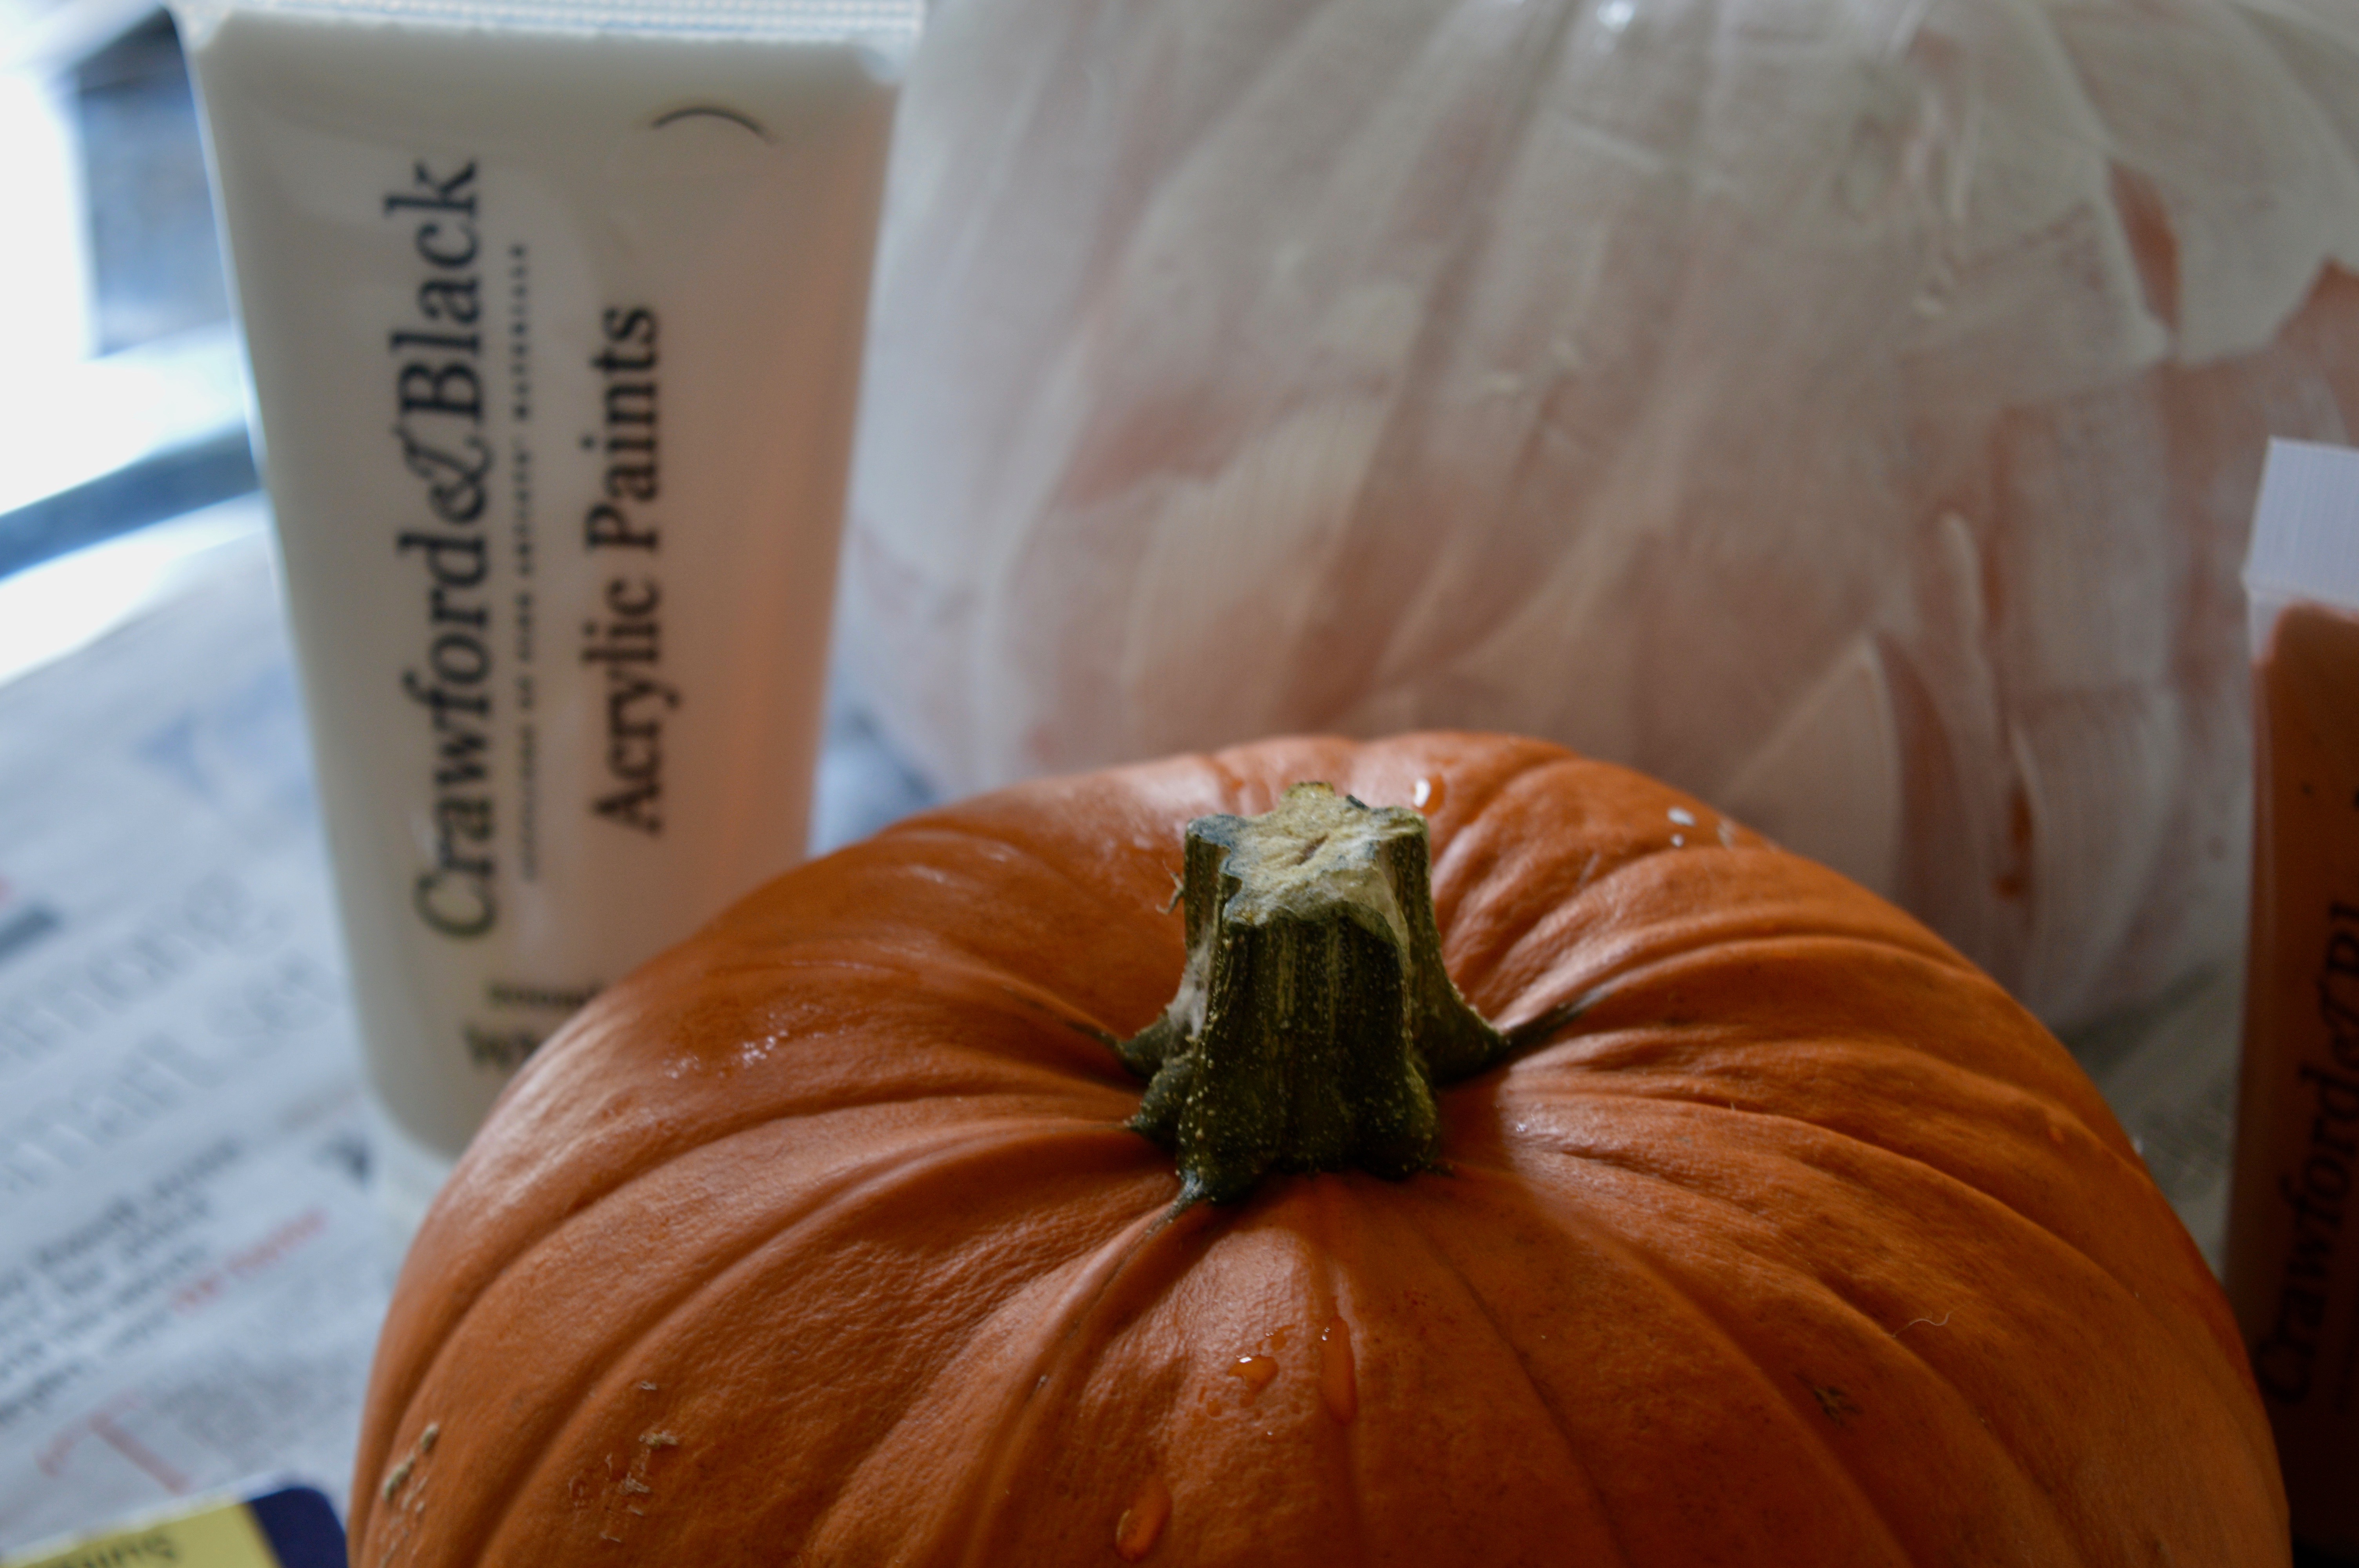
What you’ll need:
- Perfectly rounded pumpkins
- White acrylic paint
- Rose gold acrylic paint
- Paintbrushes
- Newspaper
Instructions:
1) Lay your newspaper out, wipe down your pumpkin to remove any dirt from the edges. Ensure that your pumpkin is dry before beginning to paint the white acrylic paint onto the skin.
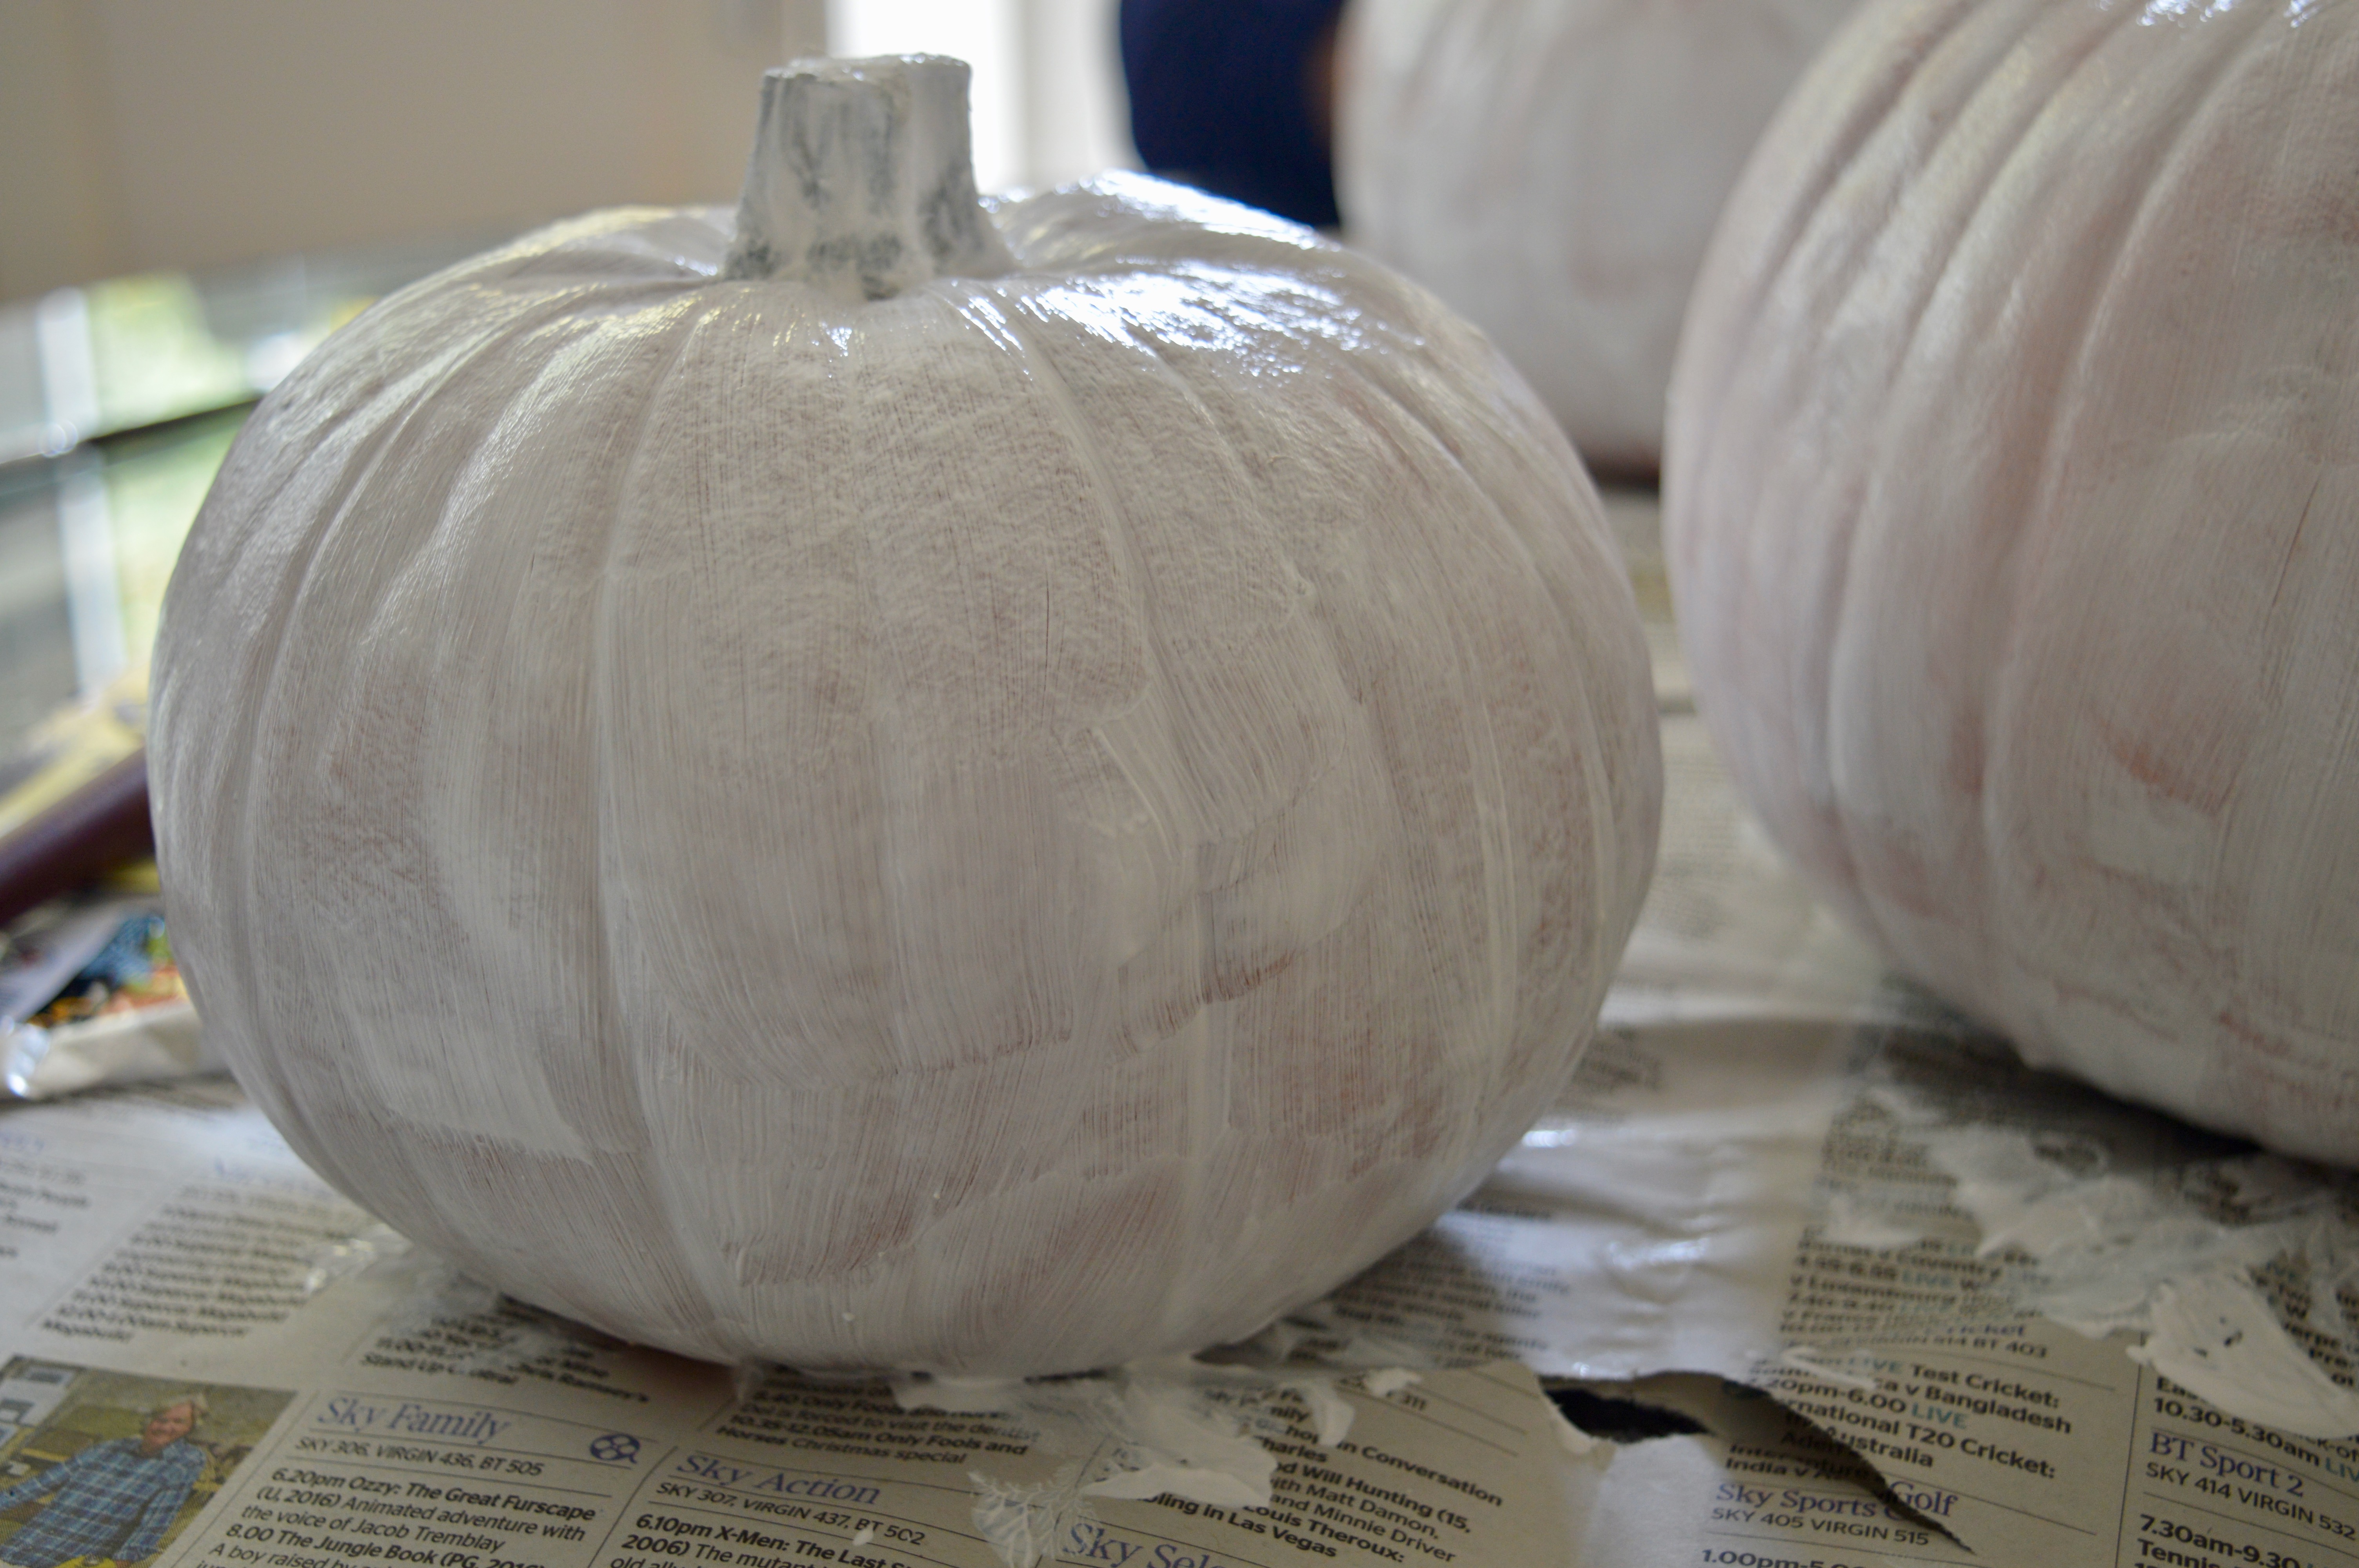
2) Using a paintbrush paint a thin first layer to keep all the bevels and grooves visible. Leave to dry before adding a second coat. Again paint thin layers. We repeated this until we had painted four layers.
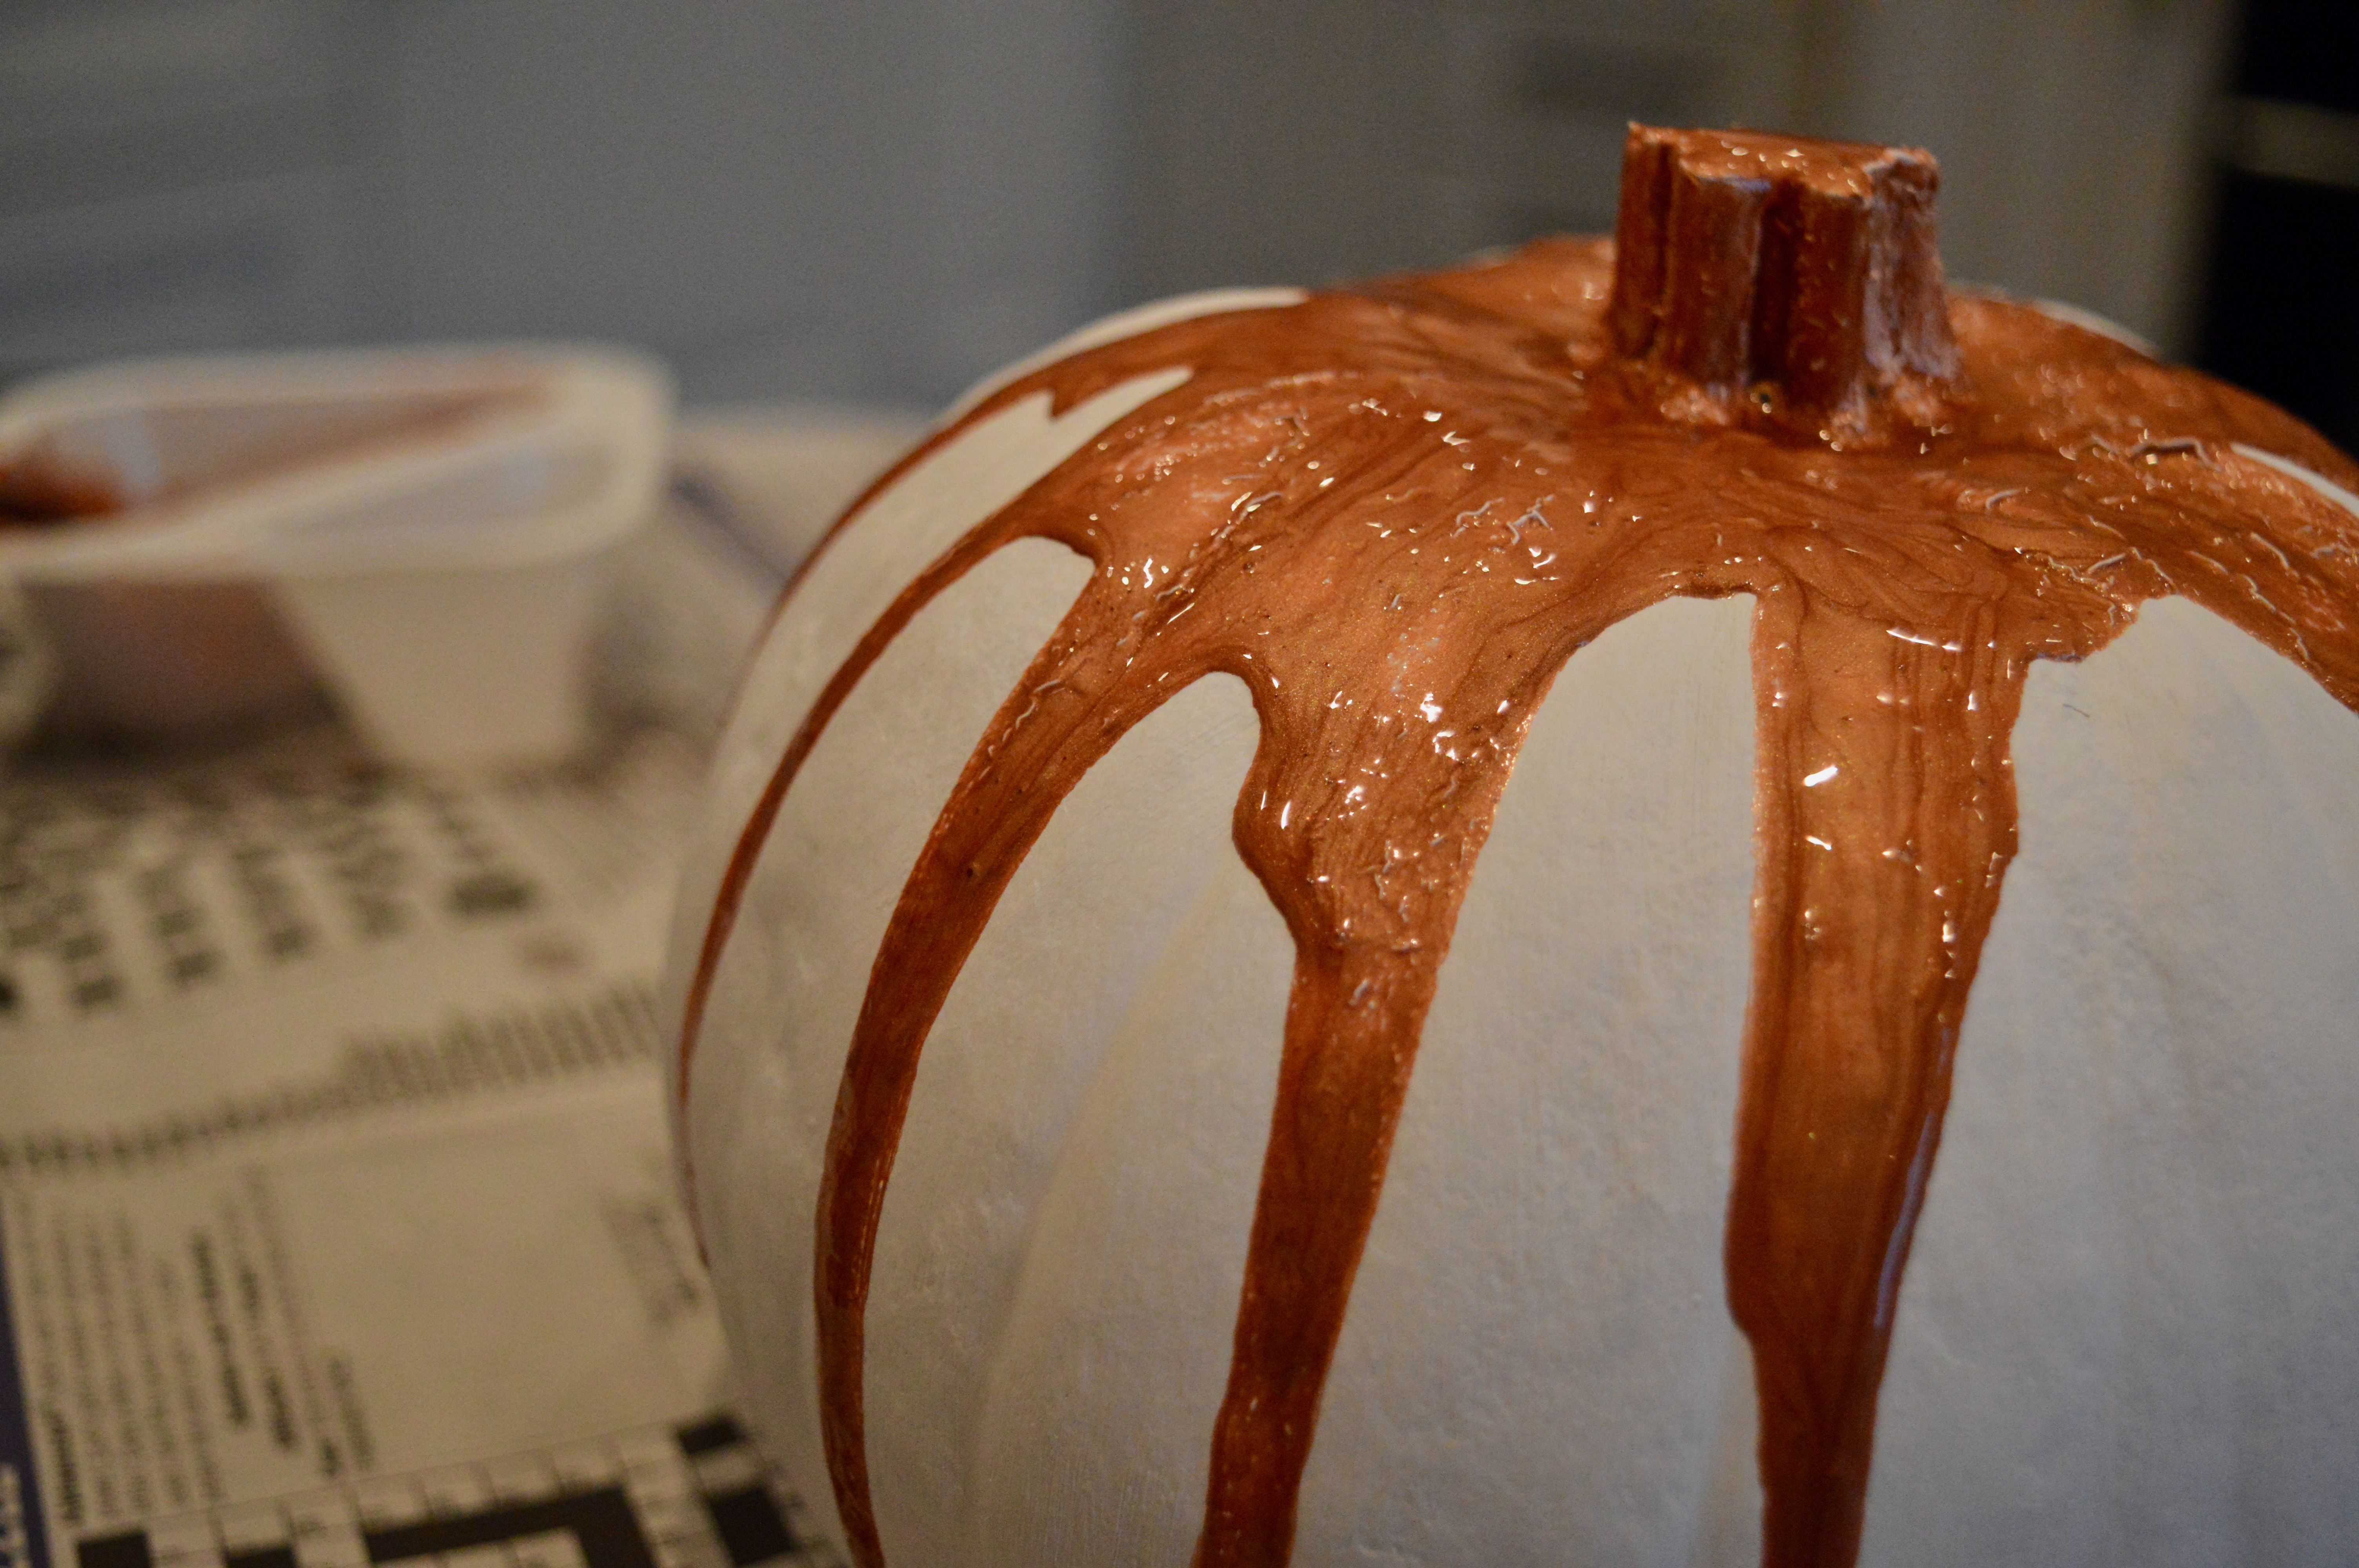
Leaving to dry overnight we then mixed the rose gold paint with a little water and lustre shimmer for an extra shimmer. Pouring around the stalk before tilting the pumpkin gently to allow the paint to trickle down to create a run
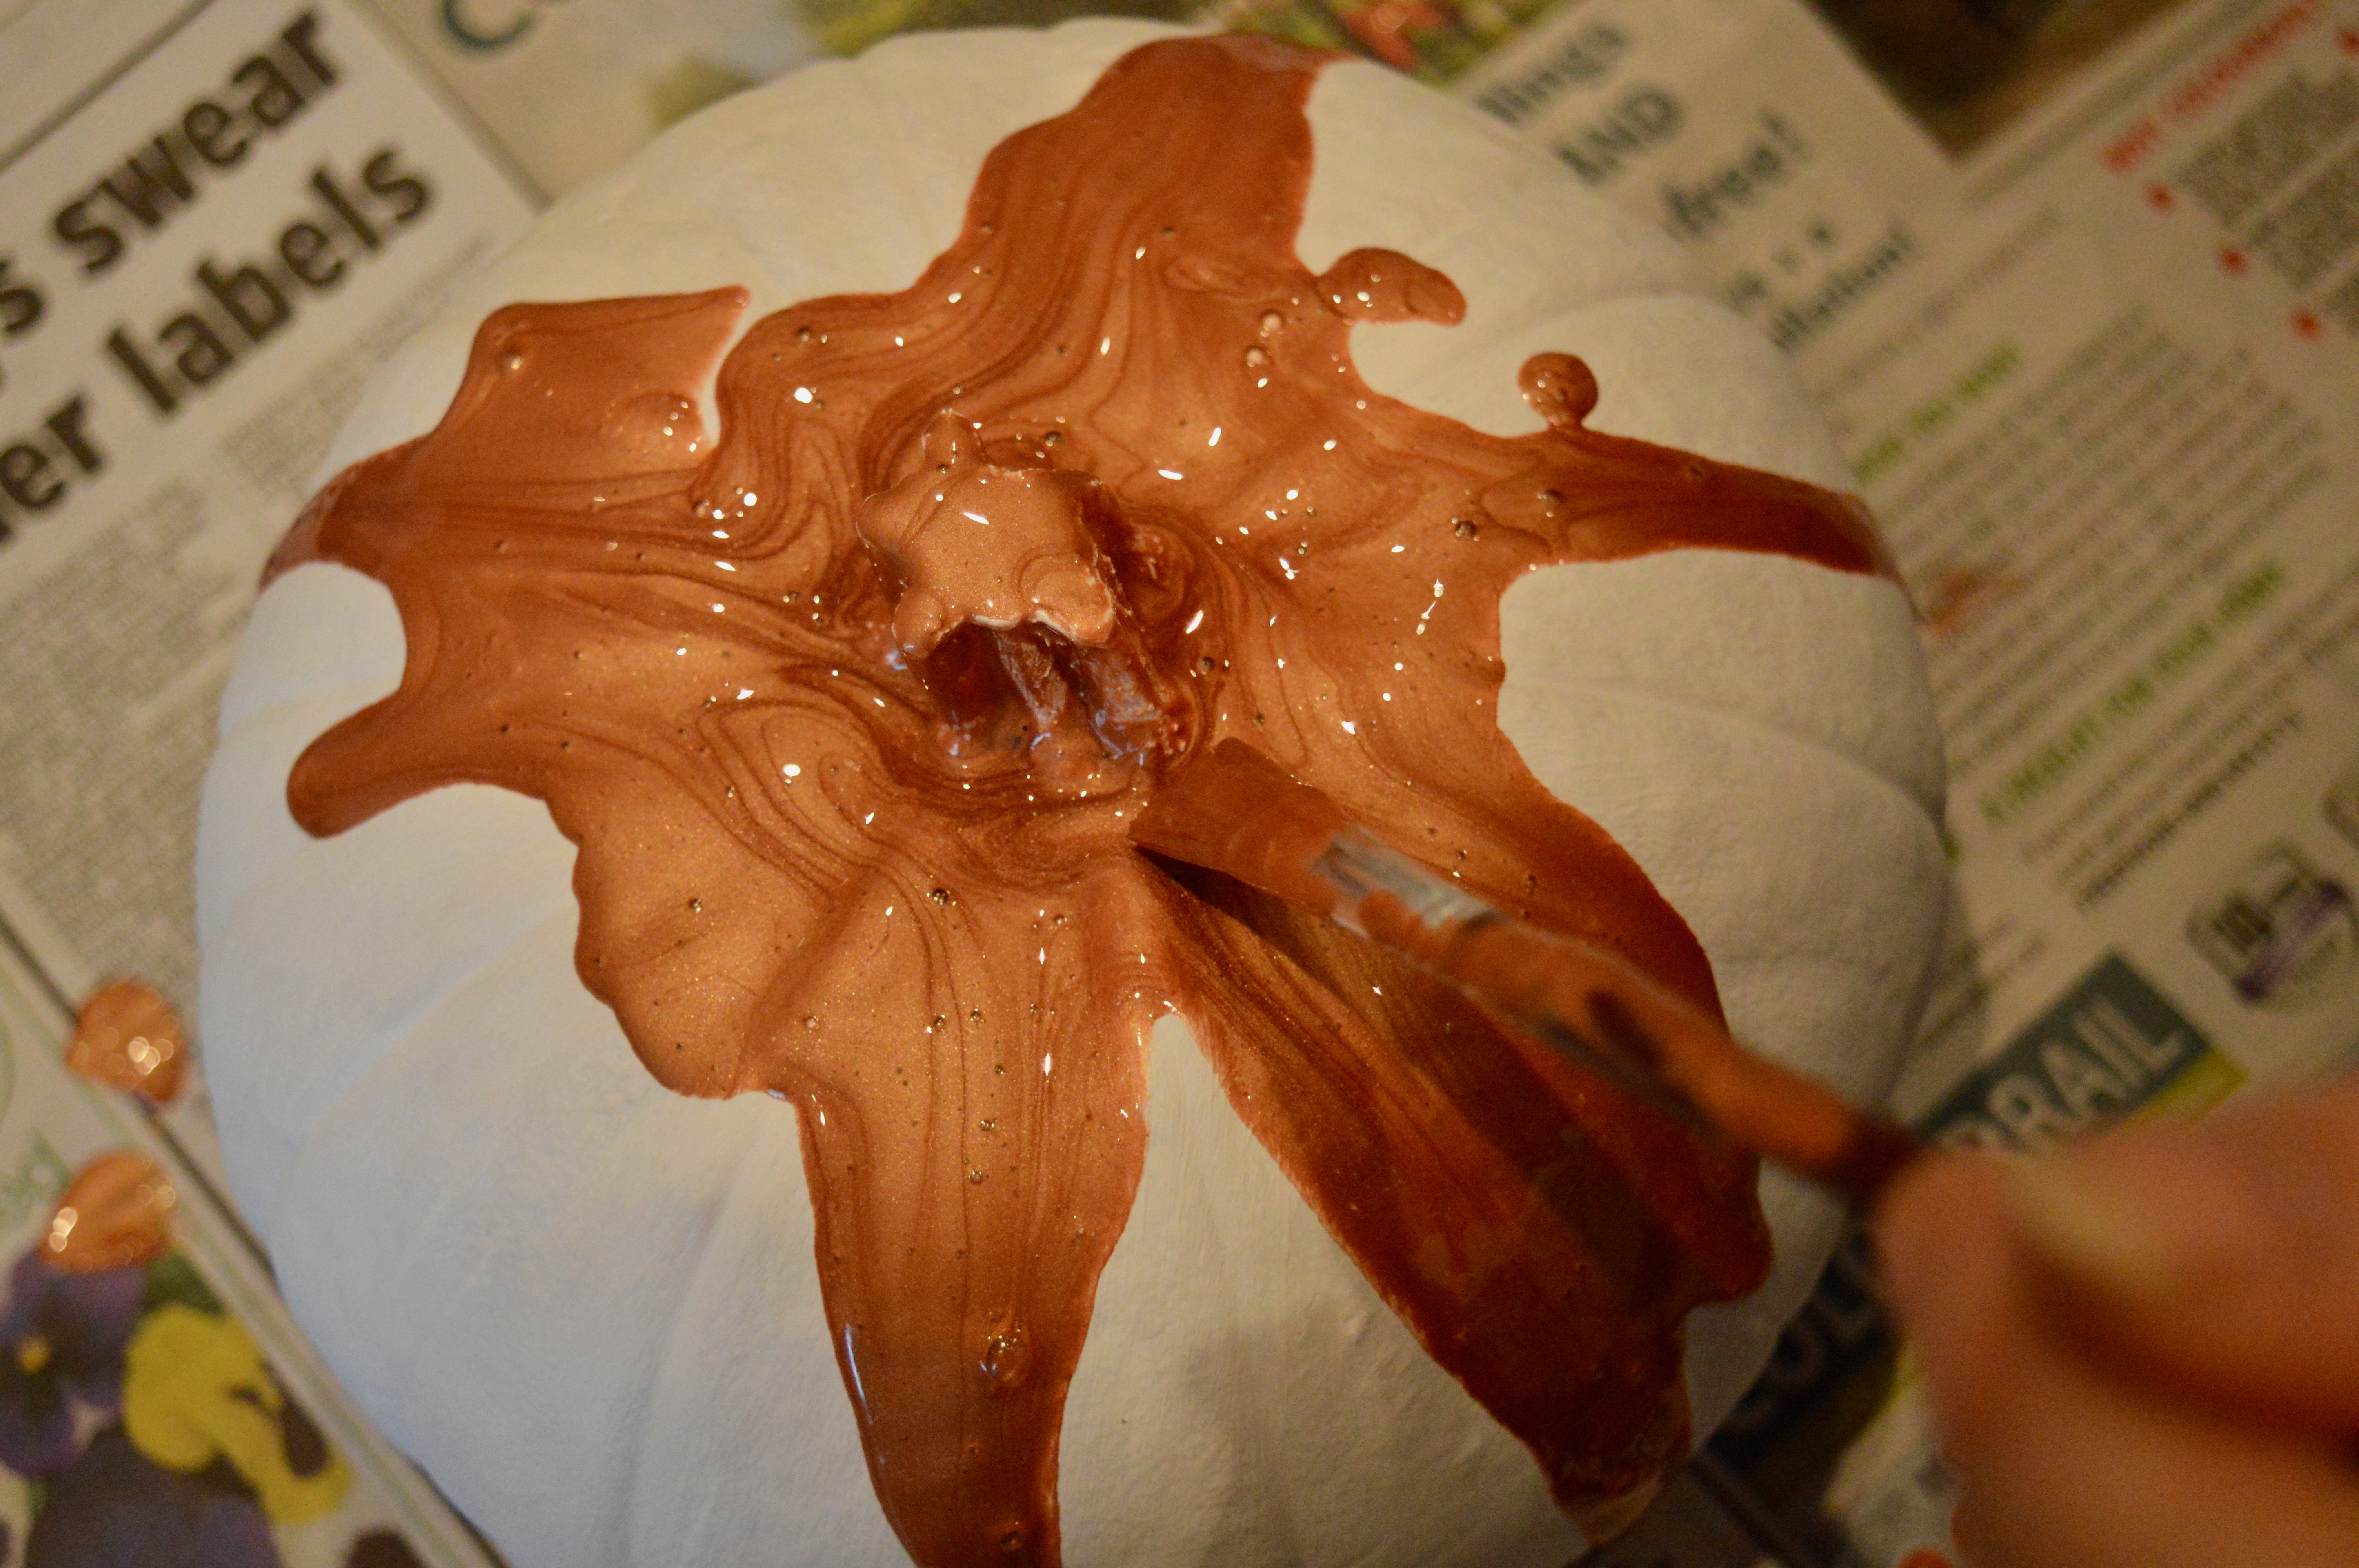
Top tip: Use a small brush to tease the paint to run.
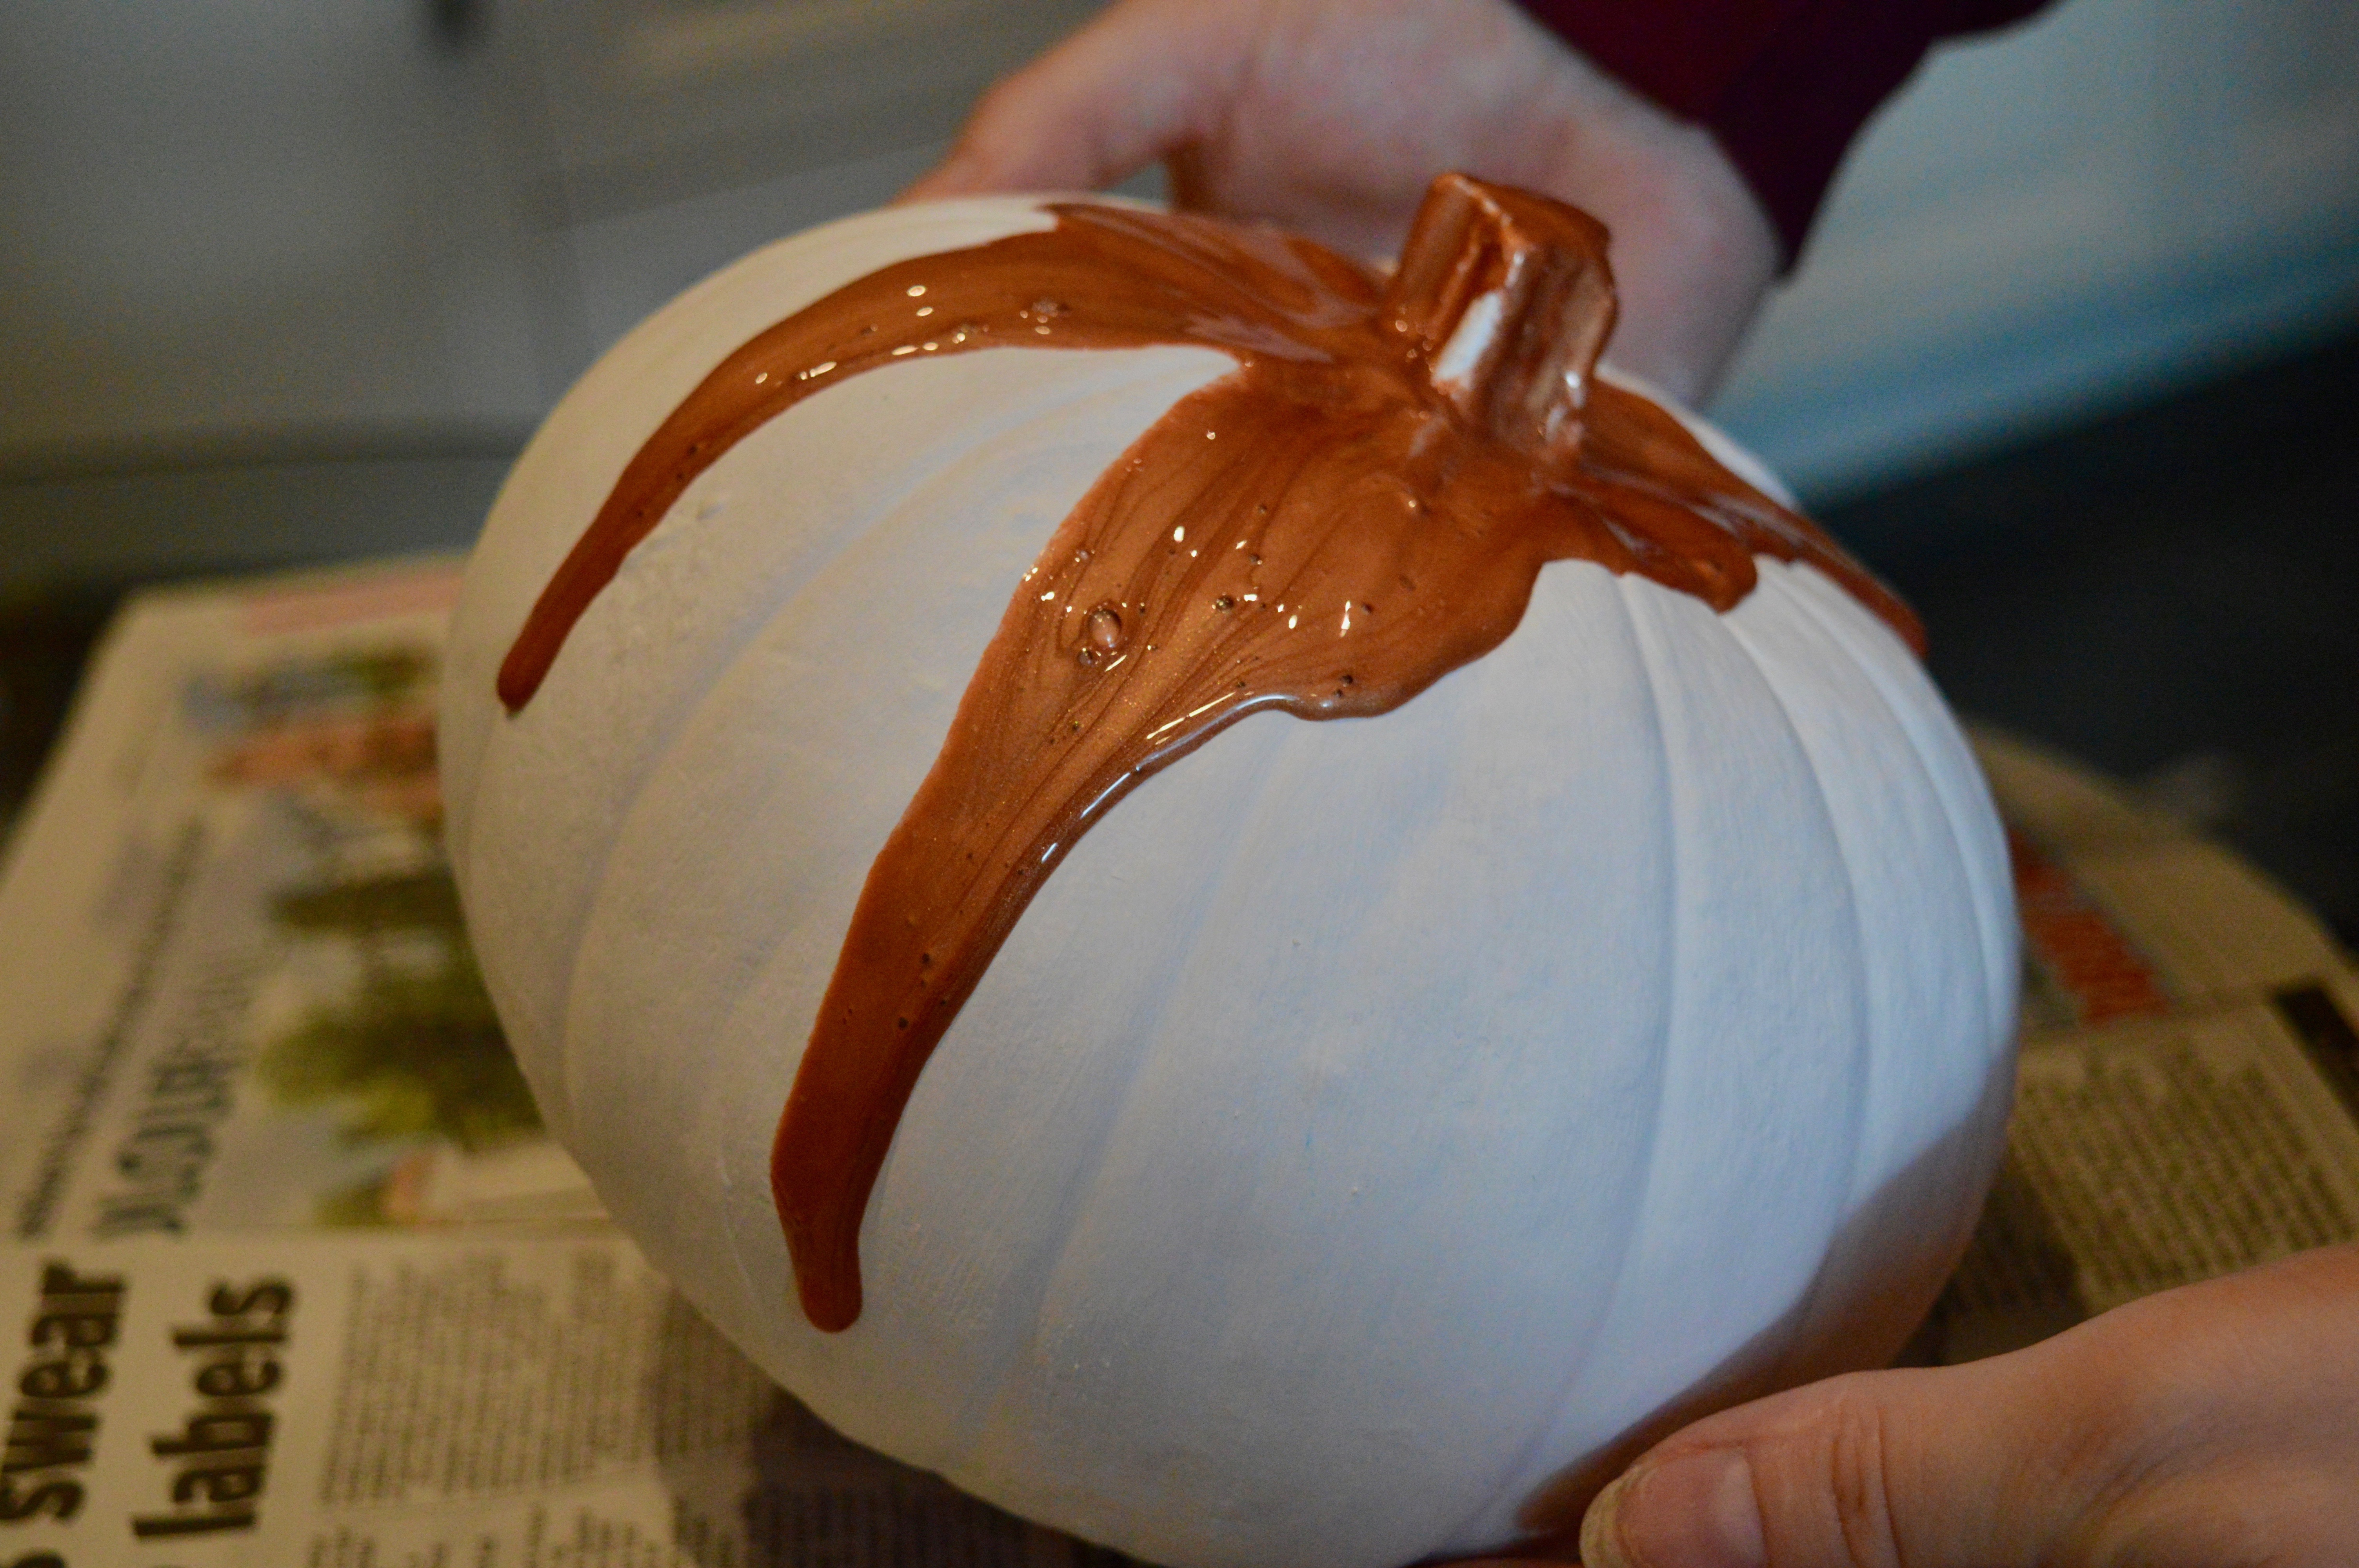
4) Leave to dry and your pumpkin will be totally Pinterest-worthy.
Have you created a pumpkin that you’re really proud of? Drop a comment below I’d love to see.
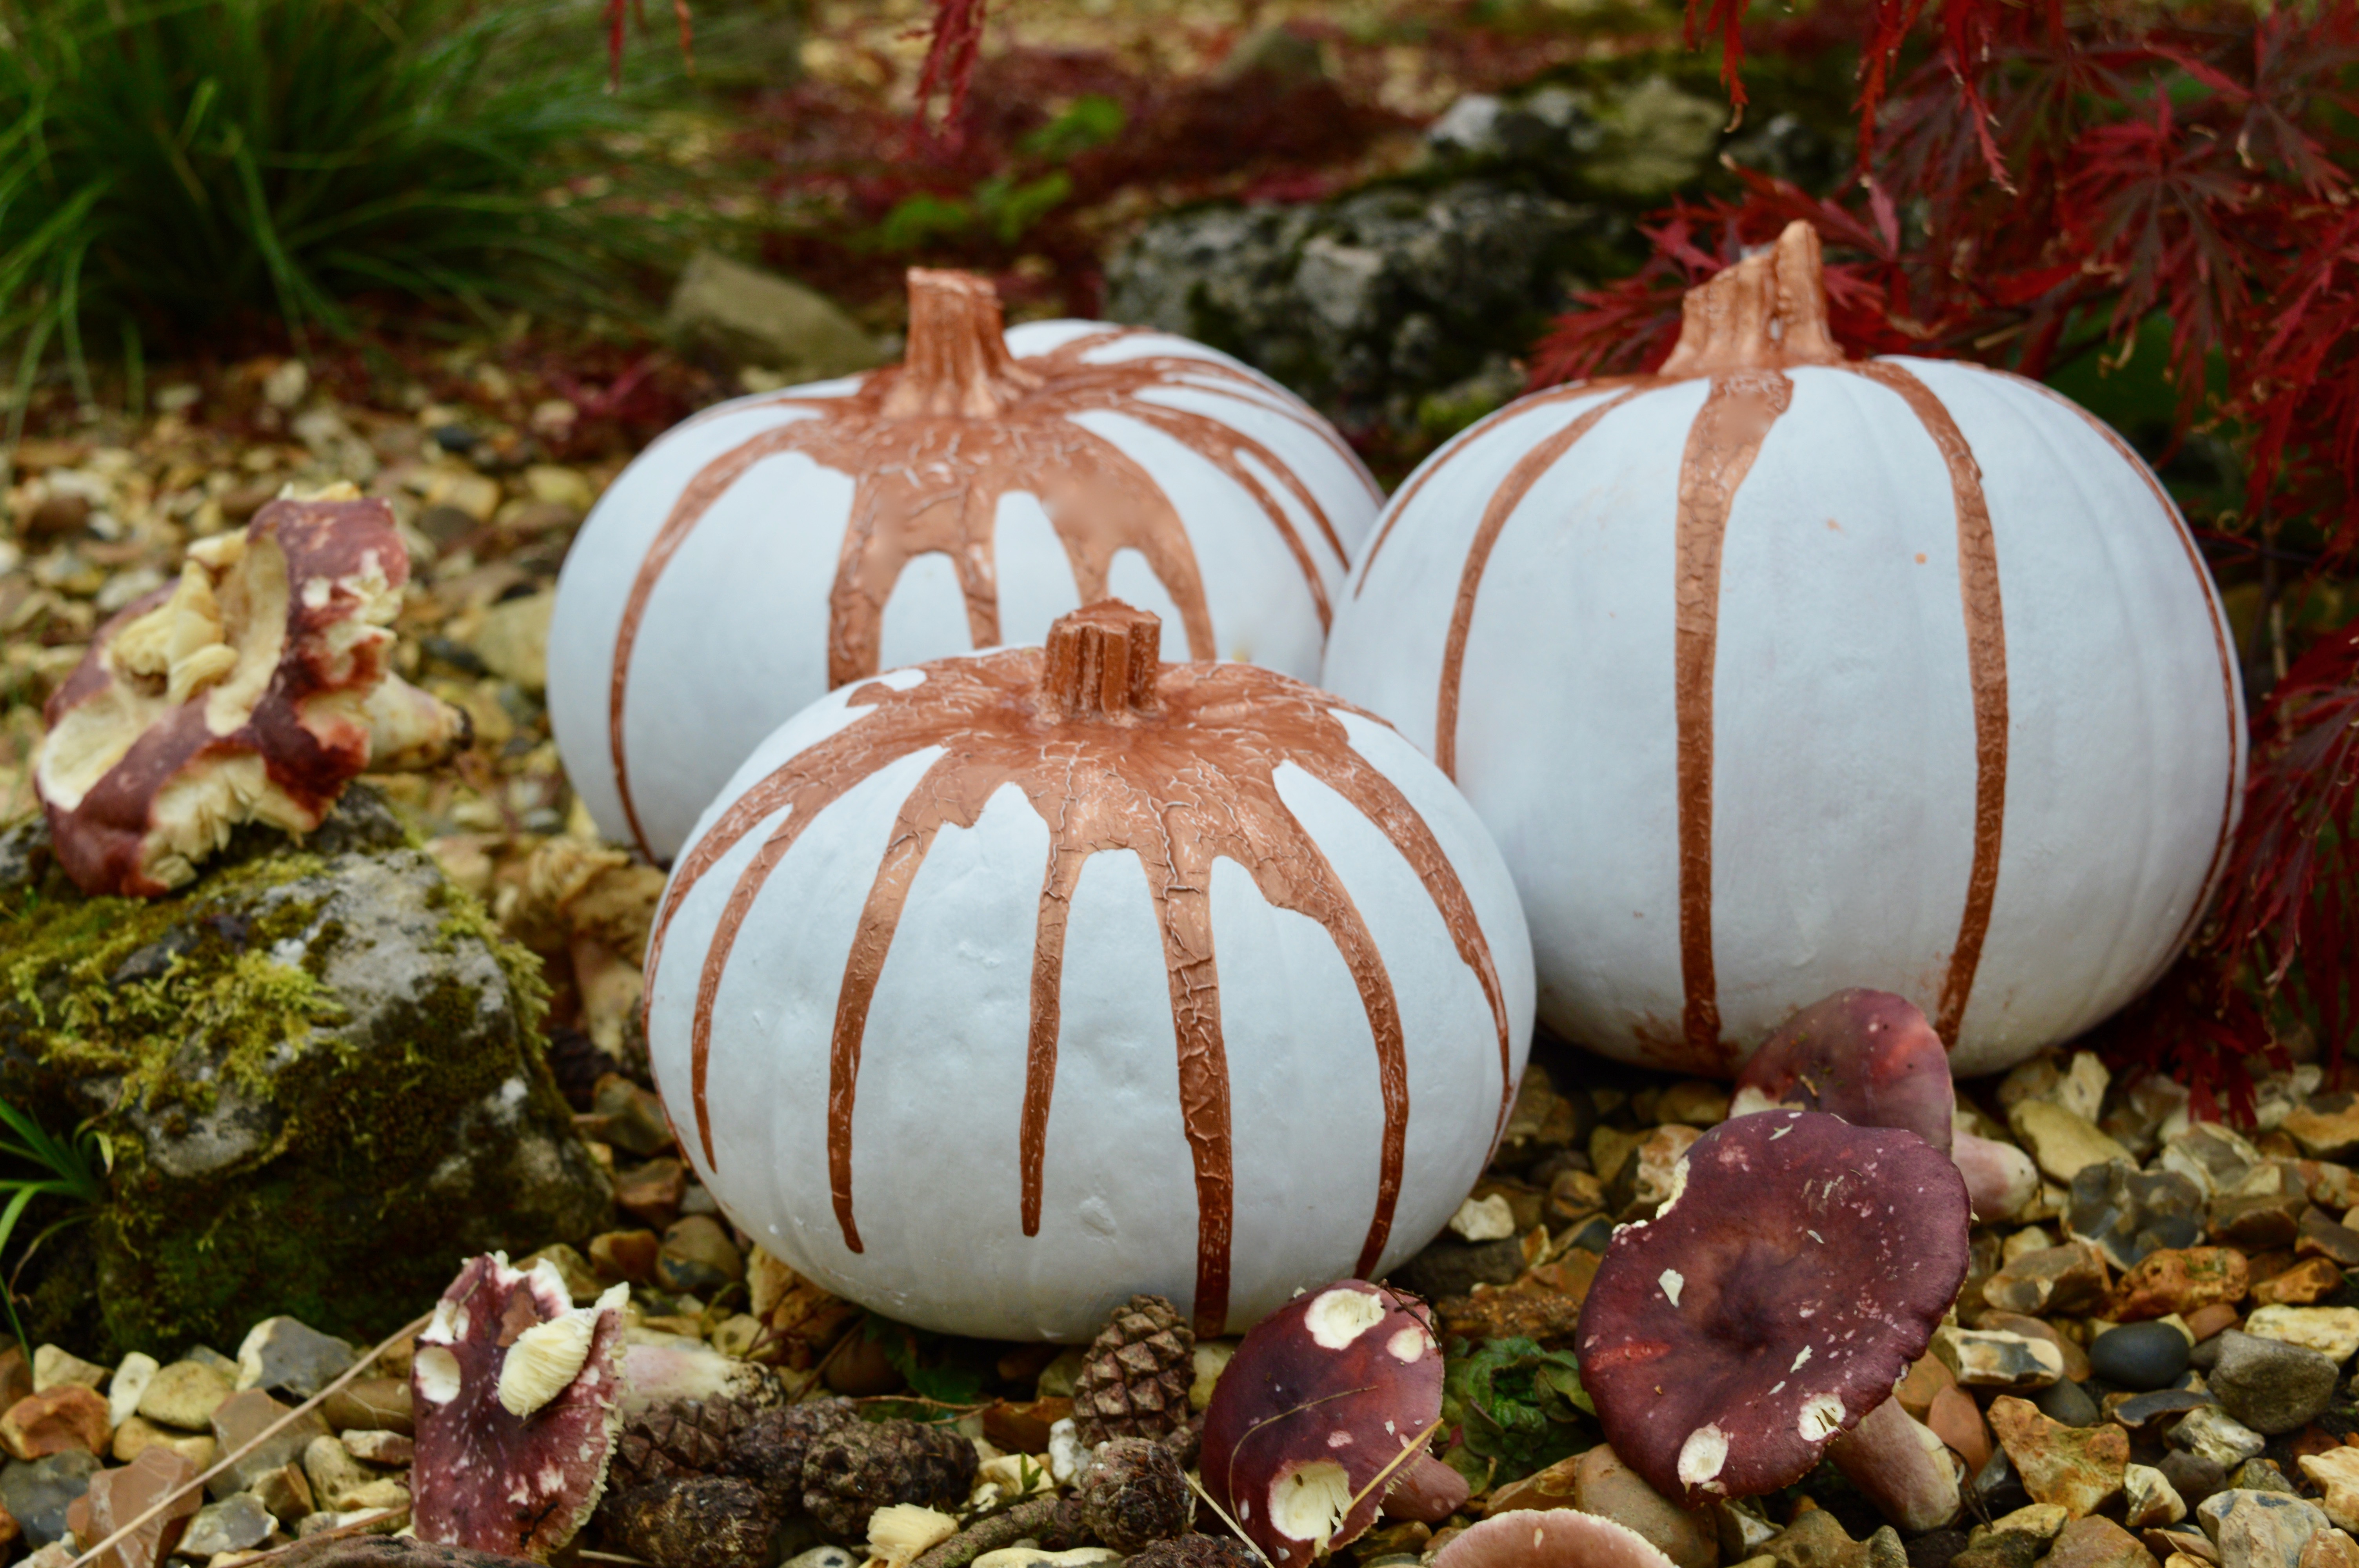
As Halloween rolls around each year, the excitement to dress up our homes with creative and themed decorations brings a sense of delight that transcends age. This year’s venture into a sophisticated palette with a white and rose gold pumpkin not only satisfies the craving for crafting but also complements our home decor, proving that Halloween can be both chic and festive. If you’ve followed these steps, you now have a stunning centerpiece that’s as Instagram-worthy as it is perfect for welcoming trick-or-treaters.
As you revel in the success of your beautifully painted pumpkin, remember that the spirit of Halloween is about creativity and the joy of transforming the ordinary into something extraordinary. This project is a reminder that sometimes stepping away from traditional paths—like choosing elegance over scare—can bring fresh inspiration into our seasonal celebrations. So, whether this pumpkin adorns your doorstep or becomes a talking point among your interior decor, it’s a testament to your creativity and a nod to modern Halloween aesthetics. Don’t forget to share your masterpiece online and inspire others with your unique take on holiday crafting. Happy Halloween, and may your home be filled with as much style as spookiness this season!
Pin me for later

3 responses
Omg these look amazing! So creative! Need to have a go, my nieces would love this! x
Love the look of these!!!
However back in the day for me as a kid I vet had a pumpkin (get the smallest violin out in the world ????♀️) however I had a turnip which my mam cut out and made a kid and put a proper candle in it with a lid – I used to love the smell ?
These look amazing!! You’ve got me feeling crafty, might have to do these next weekend when my cousin visits! X