4 Easy Steps to Build a Simple Indoor Herb Planter Box with Your Kids
Getting the kids involved in DIY projects like indoor herb planters isn’t just a fun way to pass an afternoon, but also helps to teach them important lessons that they’ll take forward with them and follow for years to come.
Even better, if your project plays out over weeks and months, they’ll be engaged and interested indefinitely, and also get a sense of achievement that keeps on giving.
Building a simple indoor herb planter fits this description perfectly, so here’s an overview of how to make your own, with the help of the little ones as well.
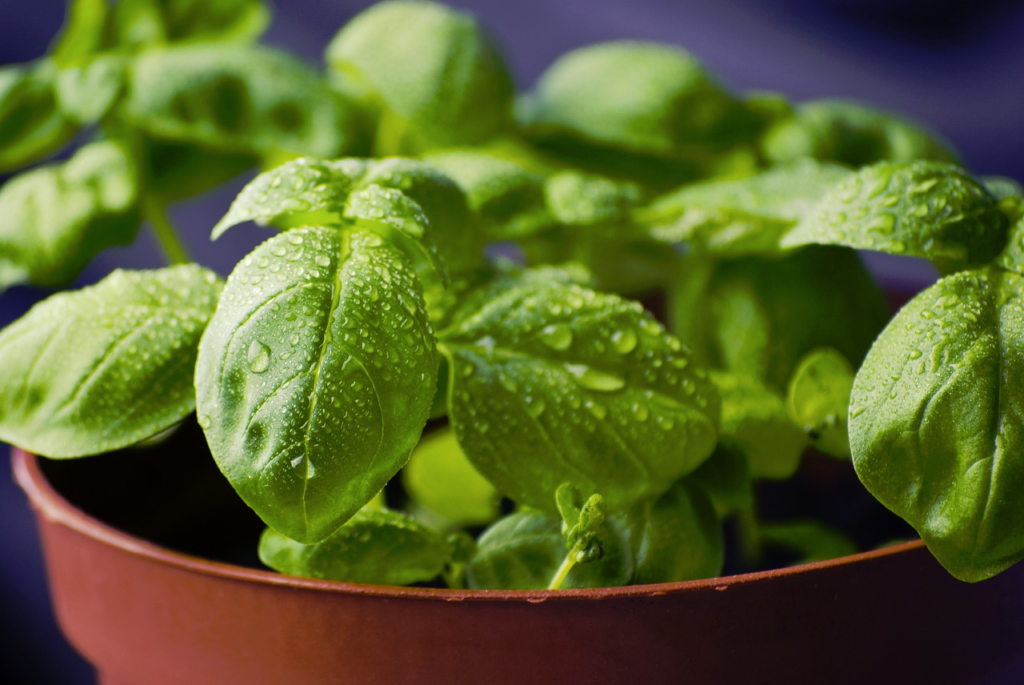
4 Easy Steps to Build a Simple Indoor Herb Planter Box with Your Kids
Put the indoor herb planter together carefully
If you choose to build your box from scratch, you’ll need a wooden plank, a hand saw, a hammer and some nails.
You only need to cut the timber into 5 pieces; three of equal length for the sides and base, and two shorter pieces to affix at each end.
Be sure to measure carefully, and consider where you are going to be positioning your box once it is finished when working out the right dimensions.
Putting it on a windowsill will give it natural light, but this might not be an option for everyone. In which case, learning how to use grow lights for seedlings will help with growing rosemary indoors.
Younger children should not be allowed to use these woodworking tools whatsoever, but that doesn’t exclude them from the fun.
Their role can be to come up with a design for the outer surfaces of the box, drawing it on paper first, and then painting it onto the real thing once you have affixed the timber in a box shape using wood nails.
Find containers for the herbs
While you could just place soil in the planter box and add seeds to it, this isn’t ideal for indoor use, as when you water it, the moisture will seep through and get onto the surface below. This is why it makes sense to use the box as a vessel to house separate containers.
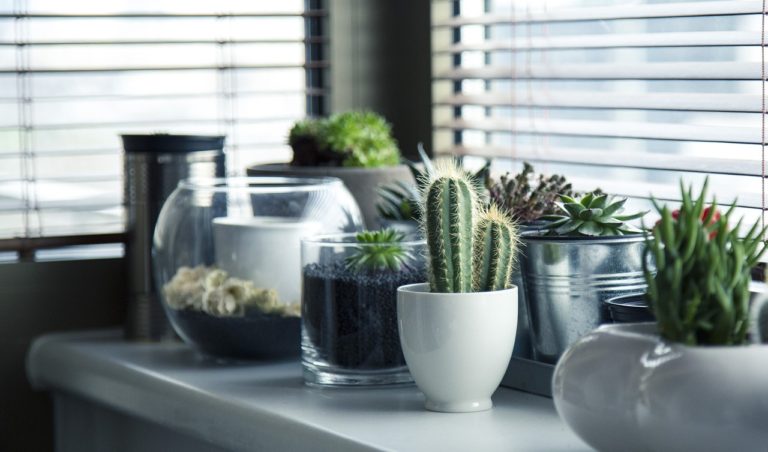
You could choose to use traditional plant pots, whether ceramic or plastic. However, it’s even more sustainable, and fun, to use clean glass jars from spreads and sauces that you’ve kept.
To add a little more of a creative flourish, why not get the kids to choose colorful ribbons to tie around the outside of the containers?
Plant the seeds
With the containers and your planter box complete, you can begin the planting process. It’s best to buy compost from a store for this purpose, rather than taking it from your garden, as the results will be more consistent.
Let the kids do the actual planting of the seeds, and follow the instructions on the packet you pick to ensure that they are planted at the correct depth. Also adhere to the info on watering your herbs, as different plants require different amounts of care and attention, and it is just as easy to over-water them as it is to let them dry out too much.
Be patient and keep watching
With the box made and the seeds planted, your project is only halfway done. Now you need to play the waiting game, and keep reminding the kids to look and see if any signs of growth are emerging from the containers.
The good thing about most herbs is that they don’t take long to germinate and sprout from the soil, but even so the wait for the youngsters can be agonizing.
Hopefully they will be invested in the success of this indoor garden, and you’ll be raising a new generation of green fingered plant fans who also aren’t afraid of a little DIY!


