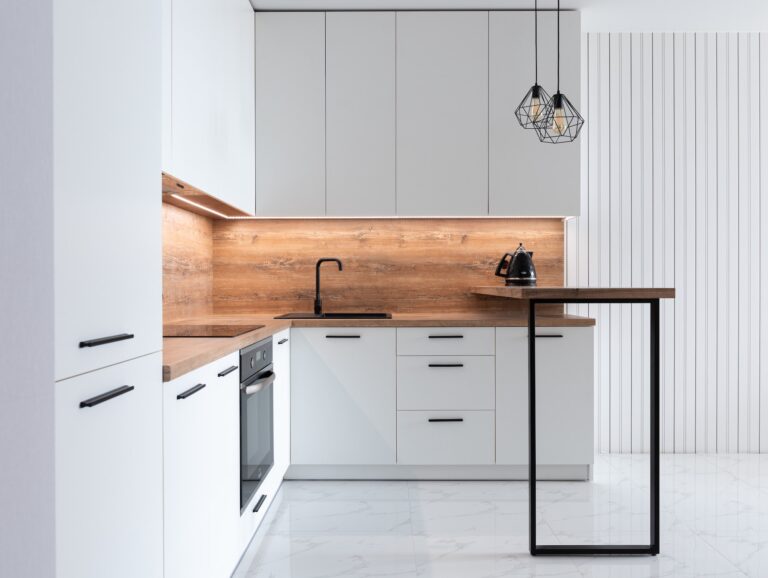
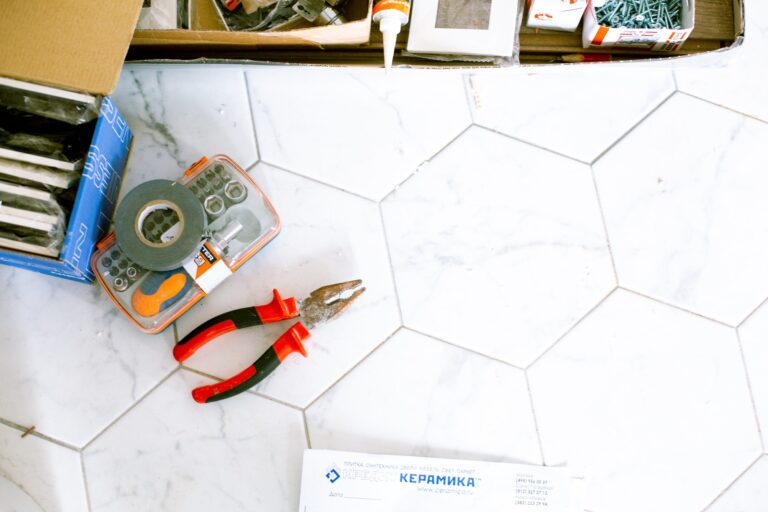
If you are thinking about replacing your kitchen floor with cork flooring tiles, you have made a wise choice, as cork has many great qualities and is both durable and very appealing. Like most things, the installation of flooring is critical and with that in mind, here are a few tips to ensure that you are more than happy with the outcome.
5 Easy Steps How To Install Cork Flooring In Your Kitchen
Preparing The Substrate
The first thing to do is remove all the kitchen appliances and clear everything out of the room, to give you a workspace and a clean floor on which to work. You must remove all traces of any previous flooring. Adhesive or strips of lino and any hollow should be filled with cement, while any bumps need to be levelled off. An uneven floor might need to be screed and left to set for a day or two before it is ready for the cork flooring to be laid.
Moisture Check
It might be necessary to put down a sealant to ensure that no moisture comes into contact with the cork tiles. If moisture is not an issue, the sealant is not required. There are ‘how to’ videos on YouTube that detail every step of installing cork flooring, in case you are unsure how to proceed.
Acclimatisation
As cork is a natural material, it needs to be acclimated prior to installation, which means leaving the cork in the room for 24-72 hours before the installation. Leave the packs of cork (opened) in one corner of the room for a couple of days and that should do it. It is very important to follow the manufacturer’s instructions regarding acclimatisation, otherwise, the warranty may be impacted. If you are looking for quality cork floor boards Melbourne or your city’s stores are selling, you can get the best deal by first checking out the online store of a leading floor supplier.
Cork Expansion
You should leave a small gap around the outside of the floor for cork tile expansion, which will occur as the floor settles. If you don’t leave an expansion gap, the tiles will likely buckle as they expand, which will ruin the look of the floor. The recommended gap is 5-8mm and that should be between the last tile and the wall.
Seal The Joints
Whether you are using square cork tiles or planks, the joints need to be glued to form a seal that prevents spillages from getting under the tiles. You must be very careful when applying adhesive, not using too much and make sure you keep the glue from the top surface of the tiles.
If you are not so confident regarding the installation process, talk to the cork flooring supplier, who would have a team of professional tradesmen to install your floor. When installed correctly, a cork floor should stand the test of time and is the ideal choice for the kitchen. If you would like to view a wide range of cork flooring, start with an online search and take it from there.
Conclusion
In conclusion, installing cork flooring in your kitchen is a feasible and rewarding endeavor that can transform the aesthetic and functionality of your space. By following these five easy steps, you can ensure a successful installation process. Remember, careful preparation of the substrate, conducting moisture checks, allowing for acclimatization, managing cork expansion, and sealing the joints are all essential aspects to consider.
With proper attention to detail and adherence to these steps, you’ll not only enhance the charm of your kitchen but also enjoy the many benefits that cork flooring brings, from comfort underfoot to eco-friendliness. So, roll up your sleeves, embark on this DIY project, and relish the beauty and practicality of your new cork flooring in the heart of your home.


