DIY Idea: How To Make A Trinket Wooden Box
There’s nothing quite as satisfying as being able to use something you’ve made yourself, like a wooden box. The feeling you get when you’ve managed to craft an object from scratch is amazing, especially when you’re on a bit of a wood craze.
Below is a guide on how to make a basic trinket box to store anything you like, from rings and necklaces to keepsakes or spare buttons.
DIY Idea: How To Make A Trinket Wooden Box
MDF Supplier=s
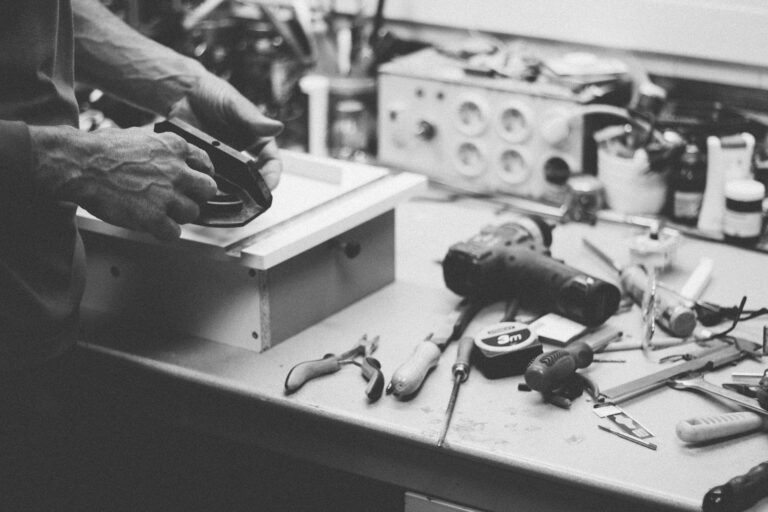
In order to make this, you will need some wood which is 9mm in thickness. Some MDF or wood which is 3mm in thickness, some veneer, some felt or leather offcuts. Some glue, a hand saw, a mitre box, some sandpaper, masking tape, a pencil, and a ruler.
The first thing you need to do is create a box shape using your wood. Measure out two rectangles with a pencil, on your 9mm thick wood, that are 12cm by 5cm and two rectangles that are 8cm by 5cm. These will be the sides of your box. You can either cut these out using a mitre box which will ensure that there is a perfect 45-degree angle for the corners.
Or you can cut the sides as basic rectangles and then sand the corners down so that they fit together. After you have done this, you should have the four sides of your box which are able to fit together neatly.
Masking Tape
Wrap your box with masking tape. Leaving one corner un-taped. This way you can unfold your box and keep all the sides in the correct order. Once you have unfolded your box, you will need to draw a line that goes along the inside face of your box’s sides.
This will be around 7 or 8mm from the bottom. You will then use the saw to cut along this line, creating a groove that is around 4mm deep.
You will then need to create a base for your box by cutting a rectangle that is around 11cm by 4cm using the 3mm thick MDF.
This will fit into the groove so that when you reform the sides of your box, the MDF fits perfectly in the grooves creating a sealed base. You may need to do some sanding to ensure that the base fits into the groove properly and does not stop the sides from fitting perfectly at the corners.
Unfold your box again and use your saw to cut another groove to the sides of your box. This time you will be cutting the inside of the top of the box to create a small lip. Again, about 3mm deep should do the trick.
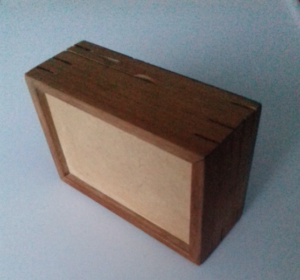
Once you have done this to all four sides and put to box back together, you should be left with a recess at the top of the box. Using the MDF, cut another rectangle that will perfectly fit inside this recess. Creating a flat top to your box and sealing it shut.
Choose Glue
Once all these parts have been made, you should unfold your box one last time. Using PVA or any other wood glue you should apply a small bead along the inside of the groove that holds the base.
You should also add a small bead of PVA along the inside of the mitre joints that create the corners.
Insert the MDF that you are using or the base and put the box back together. Using the masking tape to ensure that it stays tightly together. You can then add a small bead of glue to the lip and add the top to your box. Secure this with more masking tape too. Allow the glue to dry completely by leaving it overnight.
When the glue is dry, you should have a completely sealed box. Use the sandpaper to ensure that the top is completely flat and that the joints are smooth and uniform. After this, you will need to draw a line all around the edge of your box that is 12mm from the top.
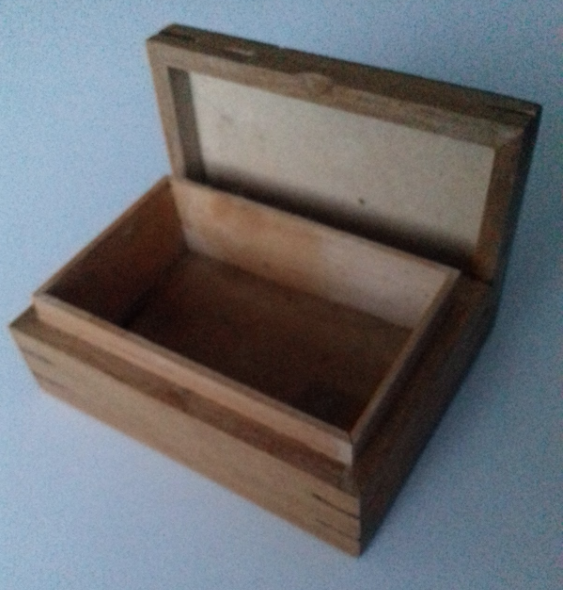
Using a fine-toothed saw you will need to cut your box along this line. Being careful to make the cut as straight and as neat as possible. You will then have the main body of your box and a lid. Use the sandpaper to smooth out the cut you have made and ensure that the two pieces fit together without gaps showing.
Measure the inside space of the box and, using a pair of scissors or craft knife. Cut some felt or leather (whichever material you wish to use). That will fit inside the box perfectly. This will form a more upmarket base for the inside of your box. Using one of the many spray adhesives available, stick the material to the inside of your box on the base.
Now you will need to create a way to keep your lid on the box when it is close. Cut out four appropriately sized rectangles using the MDF. These will be stuck to the inside face of your box and will stand around 6mm above the main compartment.
Again, use sandpaper to ensure a good fit then stick into place with PVA glue. Once this has dried, the lid of your box should slide over the MDF and be held securely in place.
Now you can add the final touches. Pick a veneer that complements the colour of the wood you used for the box and stick it over the MDF top of your box using PVA glue. Once this has dried, you can sand the box all round to ensure it is super smooth.
Then you can varnish or polish it to create a lasting, quality finish. You could even use wood stain if you wanted to change the colour of the wood to something slightly darker.
Finishing touches to your trinket box
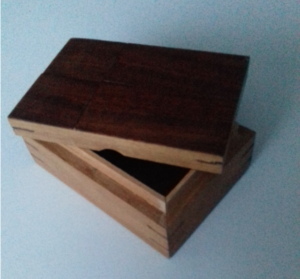
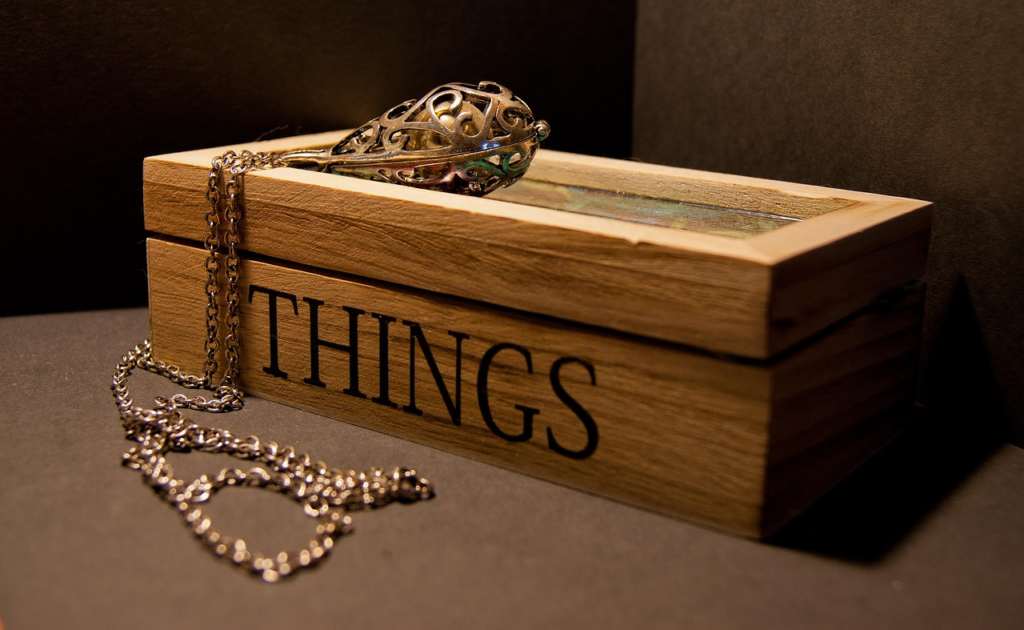
There you have it, a simple to make a wooden box that can be used to store all kinds of trinkets. If you really wanted to, you could even make a number of these in different sizes so that you have a nice matching collection of boxes. The important thing to remember with any craft project is to take your time with the measuring and cutting. So you don’t make any mistakes.
Have you tried this out? I’d love to know your experiences.
As always, pin me for later


