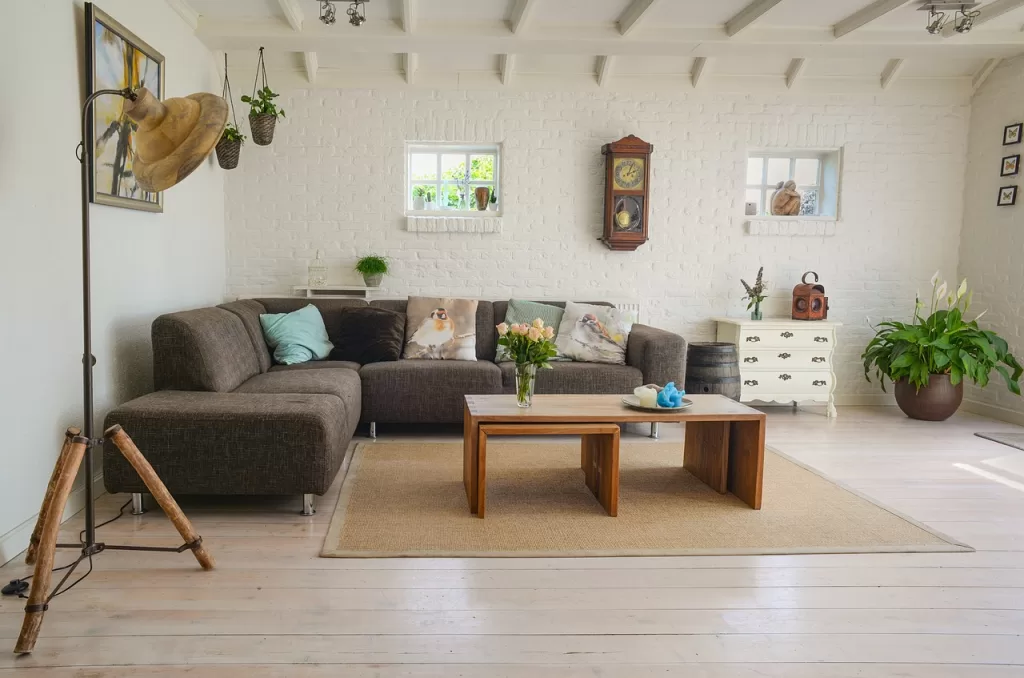
Imagine this, you’ve just had brand new engineered wood flooring laid in your open plan kitchen and living space. It looks absolutely incredible and then the clumsiest member of the family drops something on it. You’re left thinking how do I clean my new engineered wood flooring properly? We’ll you’re in luck we’re going to show you the best way to keep your new floor looking incredible.
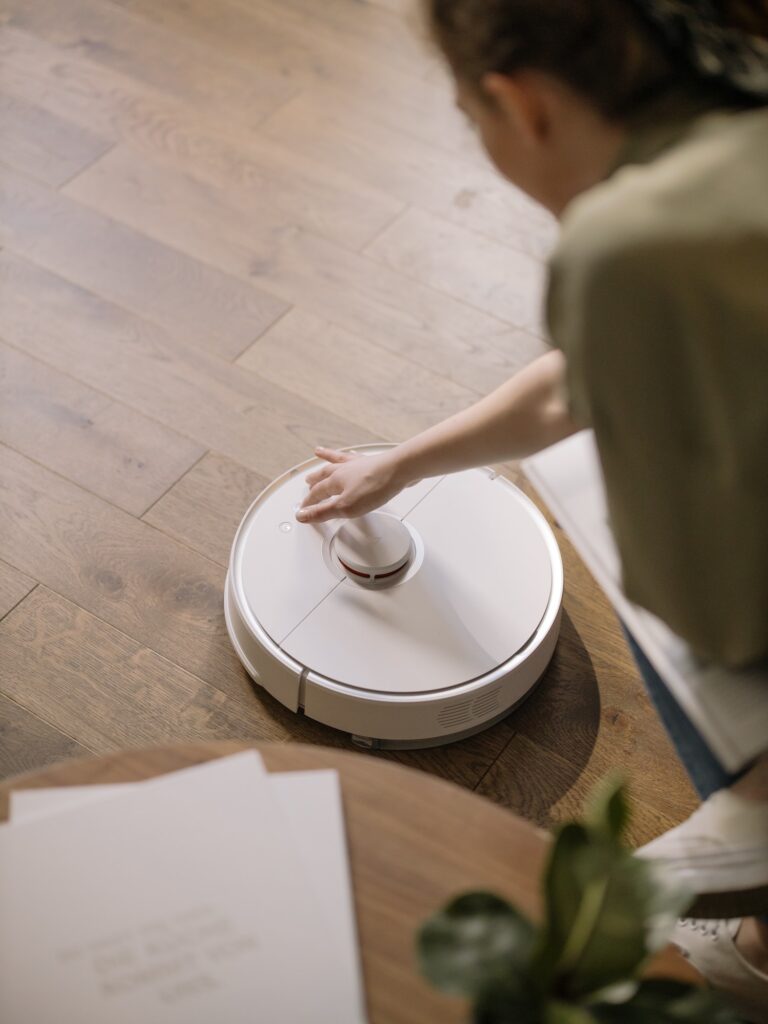
Firstly, dry over wet is always best when it comes to your flooring. Brushing away debris or using a vacuum is the best option and even dry mopping can be beneficial.
If you do however need to wipe any stains off, make sure that you’re using a well wrung-out cloth (or a mop). Your floor should dry within a minute or two after cleaning, this is when you’ll know that you’ve used an ample amount of water when cleaning the stain from your engineered wood flooring.
As the wood is living you need to treat it with love and some woods such as Beech or Canadian Maple can be more sensitive to moisture than others. So when choosing your new wooden flooring please make sure that you check out the kind of wood used to ensure that you are treating your sensitive floor properly by using water-based cleaning products in moderation.
Do note that if you do choose a lighter coloured floor then you should clean it more often as this will avoid wear.
4 Ways How To Clean Engineered Wood Flooring
How to Remove Stains From Wood Floors
You should aim to remove any stains on your wooden flooring as soon as possible to increase the chances of them disappearing for good. Do avoid strong ammonia-based solvents as they can add unnecessary wear and alongside this try and avoid soap when cleaning wooden flooring as this can leave a coat of grease which makes it even more difficult to clean.
Removing Stains On Oiled Wood Floors
If your engineered wood flooring happens to have an oil-finish then you need to be extra careful when it comes to any stains you may have. If you use strong solvents along with hard polishing then this can affect the colour of the floor. Once you’ve removed the stain you may see that there’s dome discolouration, this is due to buffing the oil layer away, it’s simple to fix simply re-oil the newly cleaned surface with a satin oil. If you do notice that there’s a colour difference then you can use a touch-up oil to make sure that you even it out.
It is recommended that upon installation you give newly laid oiled wood flooring a maintenance treatment immediately and then to keep them fresh treat them annually. Typically you’ll know that your floor needs treating if it becomes difficult to clean.

Removing Stains On Lacquered Wood Floors
Similarly to oiled floors, extra caution should be taken when you are cleaning up stains on lacquered wood flooring. Again, excessive rubbing and strong solvents can be detrimental to the finish. Opt for a soft cloth or mop and invest in some lacquered floor cleaner to ensure that your flooring stays looking brand new for longer.
Our Top Tips For Protecting Your Wood Flooring
- Ensure you have doormats on both sides of your front door. This will help keep out most of the gravel and dirt that can scratch your wood flooring
- Make sure you sweep the floor to remove gravel and larger pieces of dirt before vacuuming or mopping to avoid scratches
- Use protective pads on any furniture that is in direct contact with your wood floor. Choose pads made of soft material, like felt so that they don’t mark the floor
- If you spill water on your wood floor make sure that you wipe it off immediately to avoid water stains
Do you have any other cleaning hacks or tips for engineered wood flooring? We’d love to hear them in the comments section below. As always, if you’ve found this article of any value we’d love for you to share it with friends and family across social media and beyond.


